As you know, I love crafting and trying all different types of products. Being creative and experimenting with different types of materials and combining it with my Cricut is so important to me. So this week I’m marrying my Cricut design with Sola Wood Flowers.
What are Sola Wood Flowers
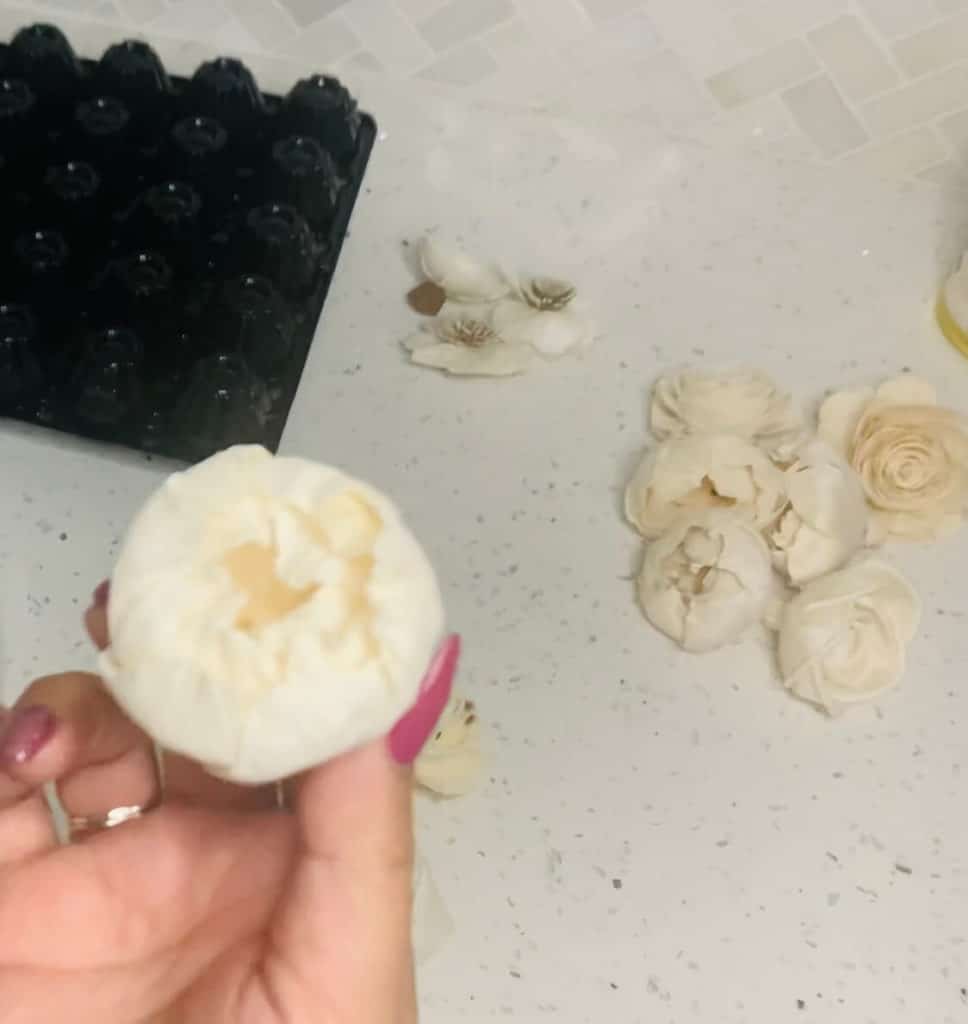
Sola Wood Flowers are eco-friendly, artificial flowers that are extremely versatile and last forever. They’re created from the Aeschynomene aspera plant which I had never heard of; thankfully they just go by Sola for short. And can you believe that each flower is made by hand with love by some amazing artists. I love that each flower comes in their natural ivory color but the best part is that you can dye them to match your home décor or special event. I’ve seen beautiful wedding bouquets made with Sola Wood Flowers and it’s so special because it will stay looking just as beautiful forever.
What Am I Making?
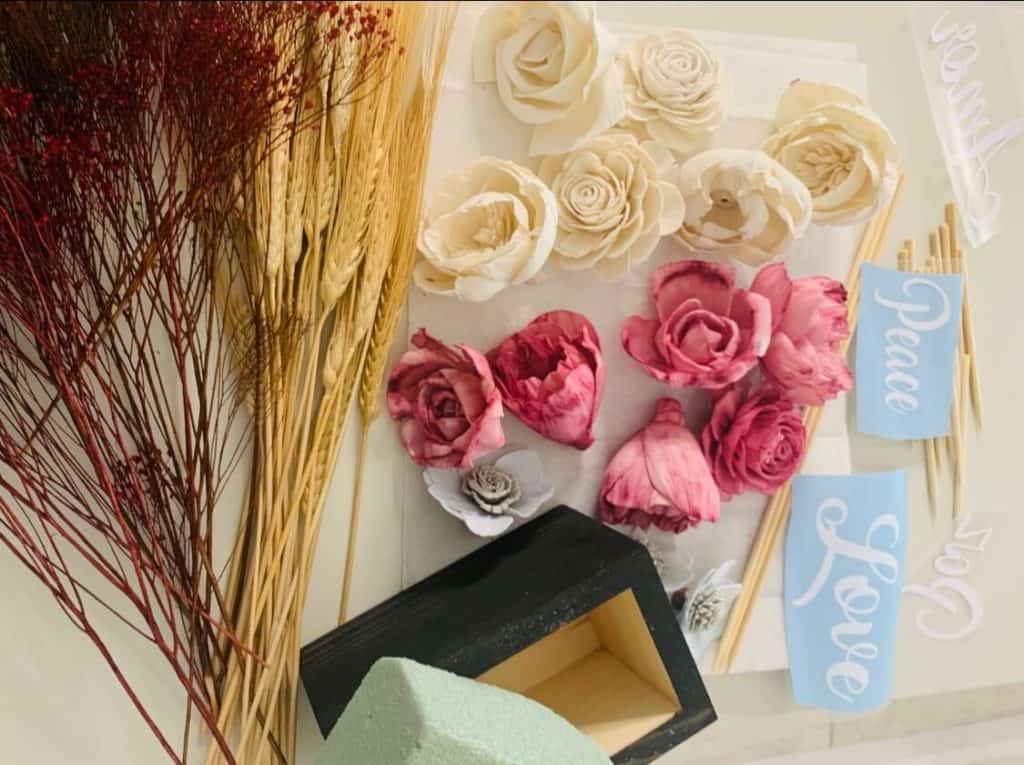
So, I chose to use their Wheat Centerpiece craft kit to make my creation. Included in the kit is the following:
- 15 Sola Wood Flowers in natural ivory color
- Glue Stick
- Floral Foam (2 pieces)
- Small Rectangle Centerpiece Box (you can choose from 6 different wood colors)
- Bamboo Stems
- Triticum Wheat Filler Sample
- Burgundy Broom Bloom Filler Sample
- Mahogany Broom Bloom Filler Sample
- 3 – 1oz Bottle of Wood Flower Dye (so many great color choices)
Prepping Sola Wood Flowers
Before I start marrying my Cricut Design with Sola Wood flowers, I first have to prep the flowers and by prep, I mean dye them in the colors I selected. I was nervous for this process, but I have to tell you it was super simple and actually a lot of fun to see the petals absorb the color and take on a new look.
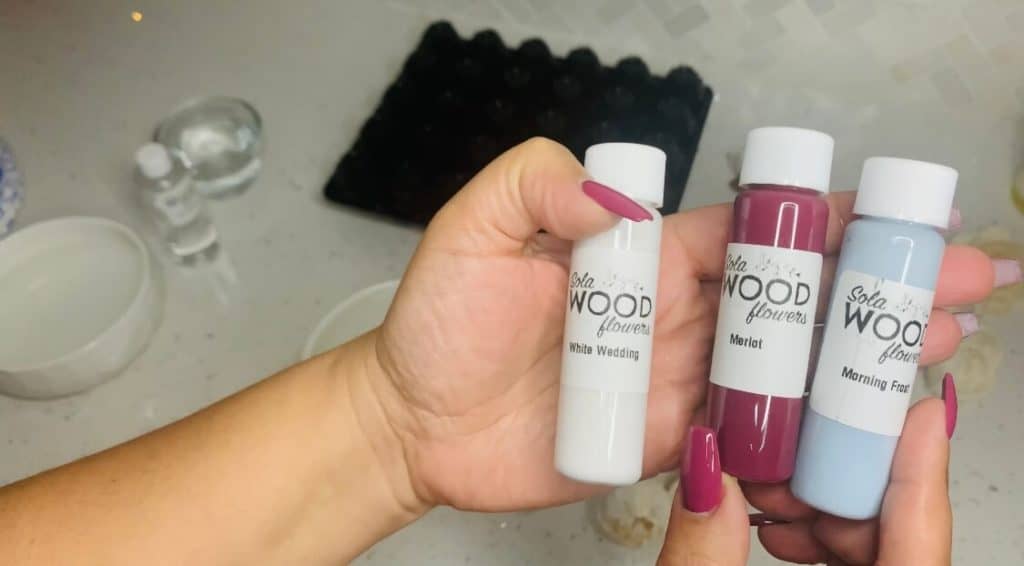
The colors I chose were, White Wedding, Merlot and Morning Frost. I wanted it to be a décor piece that works for any season and it didn’t disappoint.
Dyeing Your Sola Wood Flowers
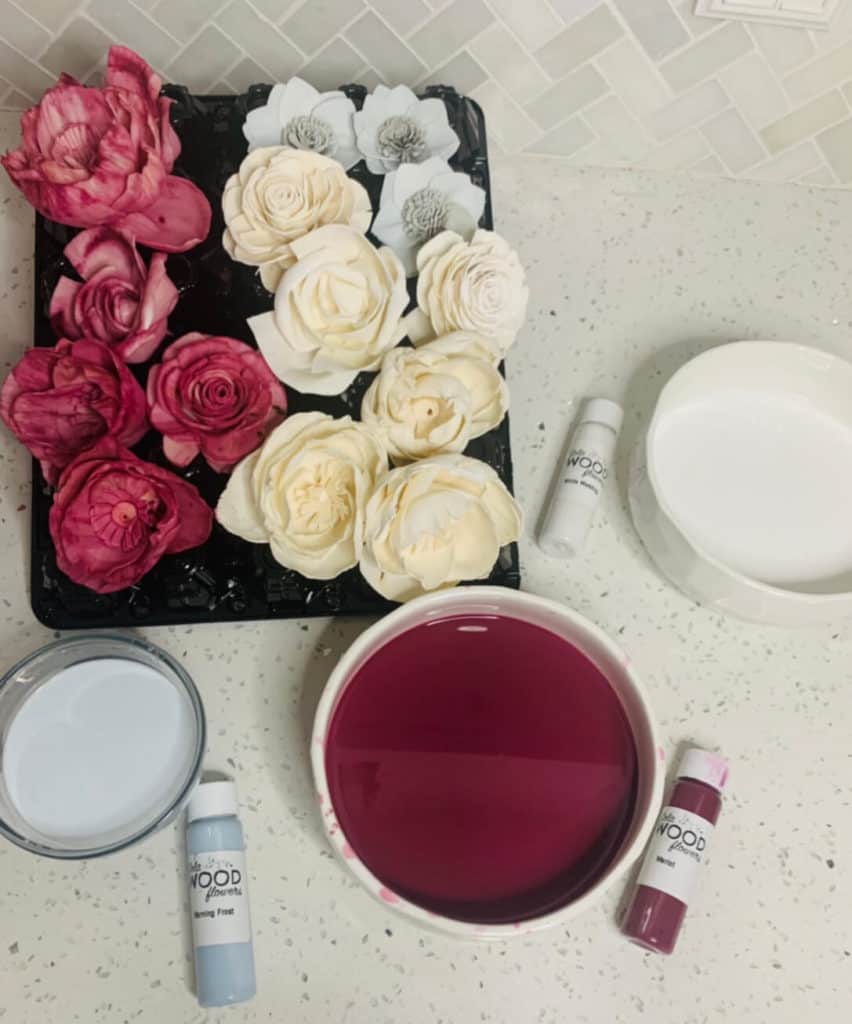
Dyeing the flowers was very simple. You will need:
- Bowl with warm water
- Acrylic Paints
- Stirrer or something to mix paint with water
- Sola Softener
- A drying rack or place to put your wet flowers. I used a plastic egg carton
- Gloves if you don’t want your hands getting messy
To dye your flowers, mix 1 part paint to 2 parts of warm water and stir until fully mixed. I also added some of the Sola Softener which helps keep the petals soft and helps in separating petals and arranging them without the stiffness.
Dip each flower into the color and if you want, start opening up the flower petals to make it look in full bloom. Make sure that if you open up the petals you submerge it again so that the inside gets color as well. Once done, set it to dry and just repeat with all colors and flowers. Make sure to keep some space between the flowers so that color doesn’t transfer over and so that they don’t stick together.
Tip: Dye your flowers the day before you want to create your project. They will need at least 24 hours to dry properly.
Vinyl Design with Your Cricut
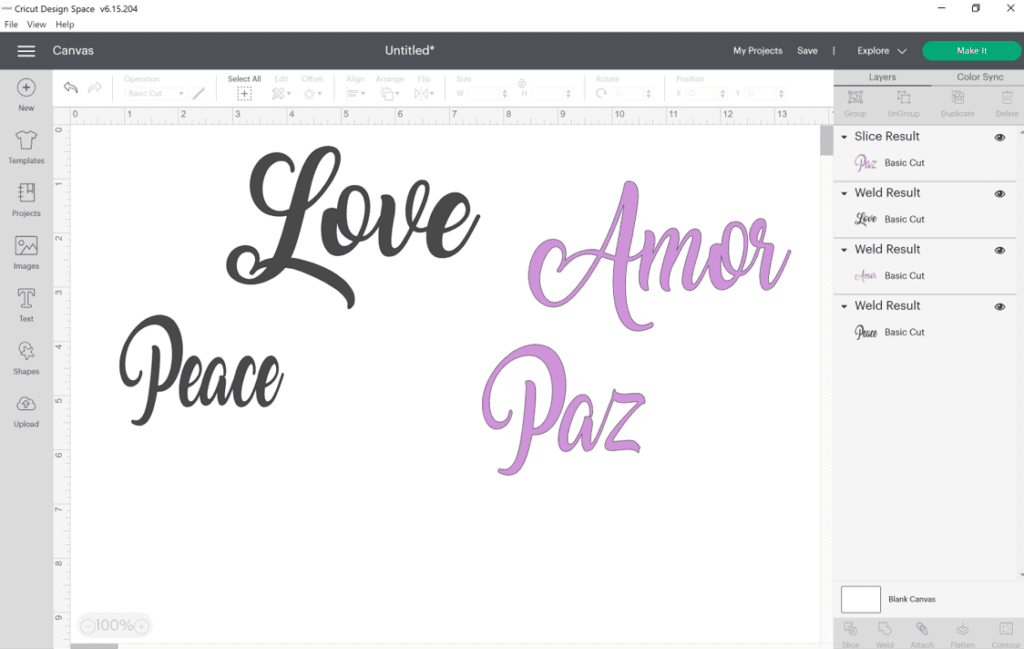
So this is the part where I say I’m marrying my Cricut Design with Sola Wood Flowers. The craft kit comes with a rectangle wood box that I wanted to customize with words that could work all year round. I chose two of my favorite words, Love and Peace. And, being Puerto Rican, I wanted to add a personal touch with the words in English and Spanish. I also wanted to show you 2 ways how you could add the words; one, with Oracle 651 vinyl and two, with HTV. YES, I ironed-on the words directly on the wood. I love taking the chances on your behalf, so you don’t have to find out the hard way what works or doesn’t.
For those interested, I used the font Amarillo that I downloaded from Dafont. Here’s a link on how to download fonts and use in Cricut Design Space.
Iron it On
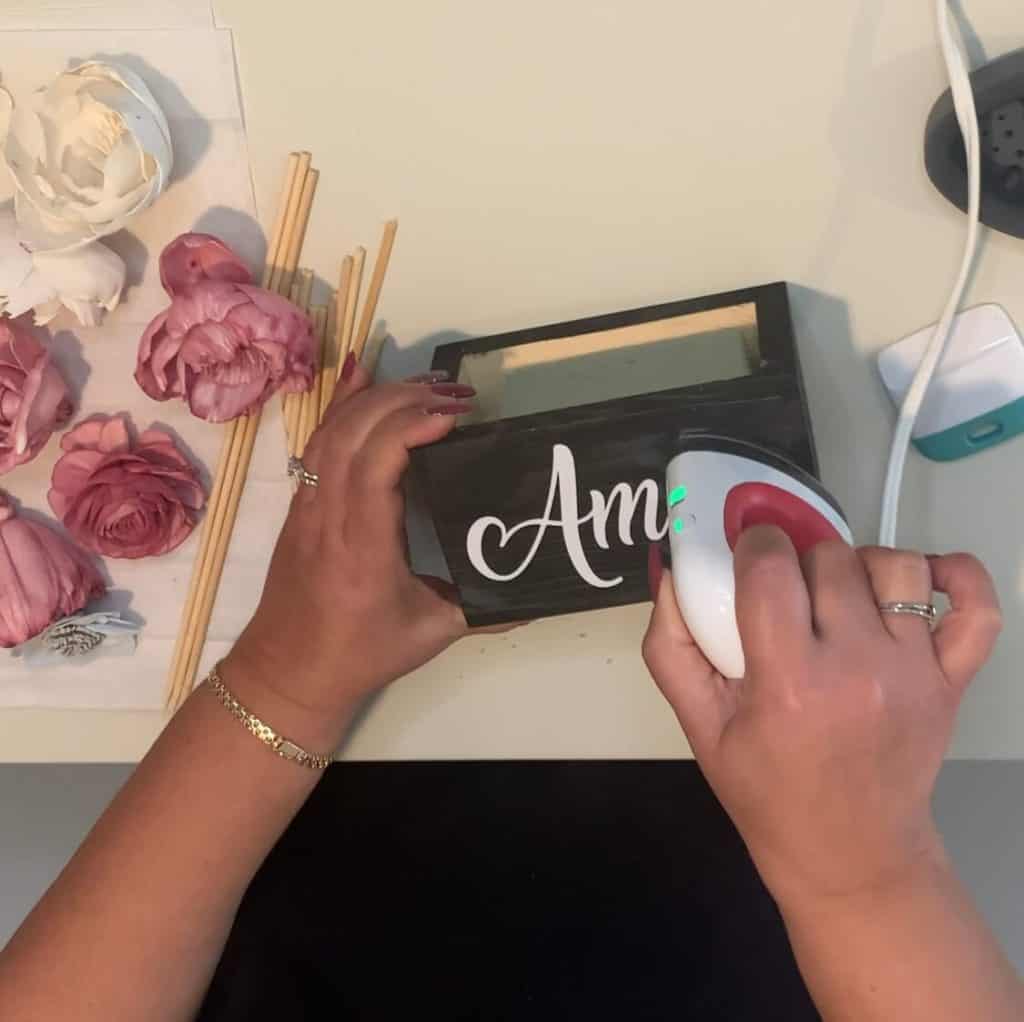
Now that I have my words cut out, it’s time to place on the wood box. I did not prep the box in any way, I just wiped it off to make sure there wasn’t any dust from cutting the foam piece. I first placed the 651 vinyl on 2 sides and it transferred over perfectly. I love the transfer tape I use, here’s a link just in case you’re interested in trying it. Once the 2 sides are done, it’s time to move on to the HTV.

This is a perfect project for the Cricut EasyPress Mini. I used it on medium heat (which means only 2 lines lit) and moved it around for 10 seconds. Don’t let it sit on the product for a length of time, keep moving it around. It worked like magic and it’s on there permanently.
I love that we can use different products to create custom pieces for our homes or events. Now let’s assemble it all.
Assembling the Centerpiece
There are several steps before we can assemble. You need to:
- Cut the foam piece to fit in your base
- Cut the bamboo stems much smaller so that they fit in your base
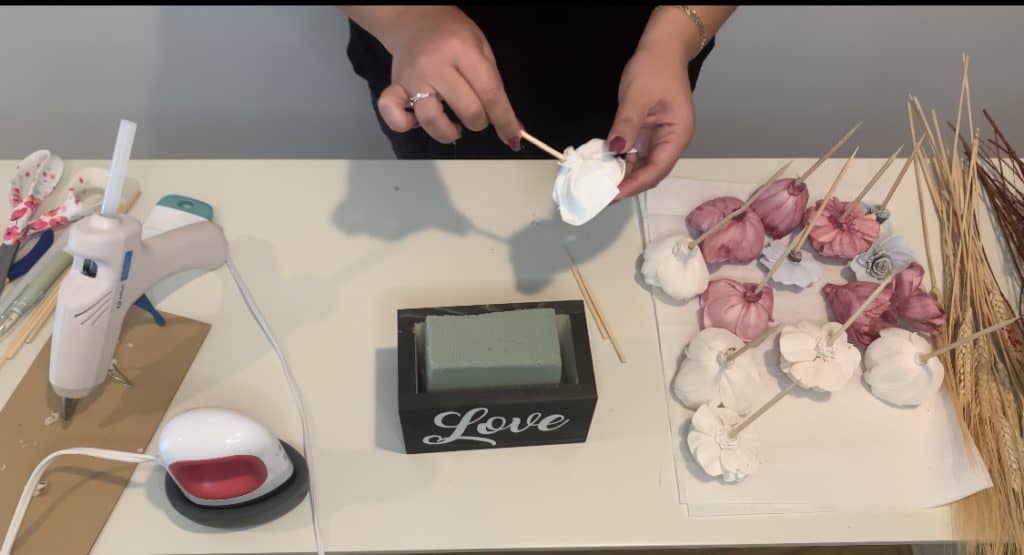
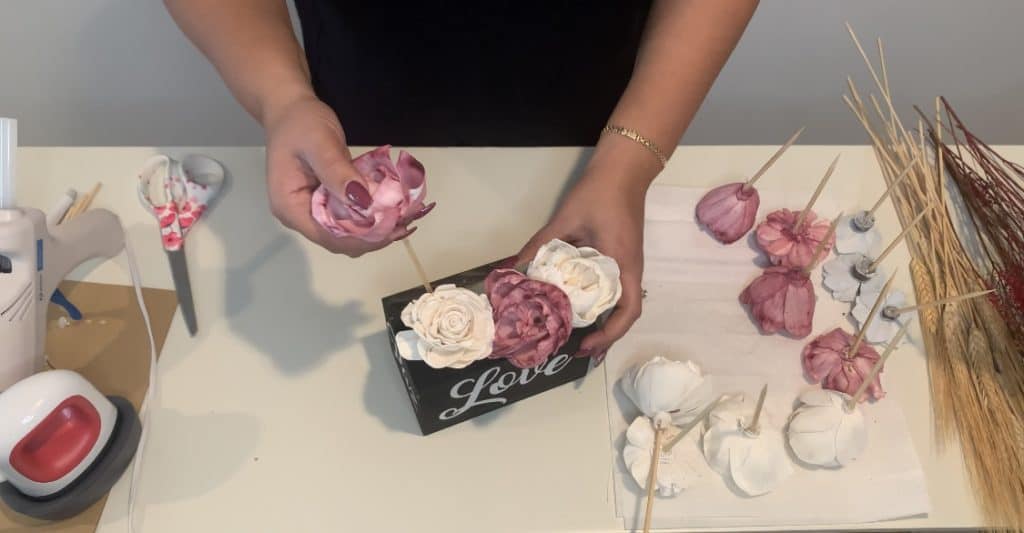
- Glue the bamboo stems to the back of your flowers (keep the pointy side to stick in the foam)
Start assembling and sticking your flowers around the foam. I just alternated colors; there really is no right or wrong way to do this. It really is personal preference how you want it to look.
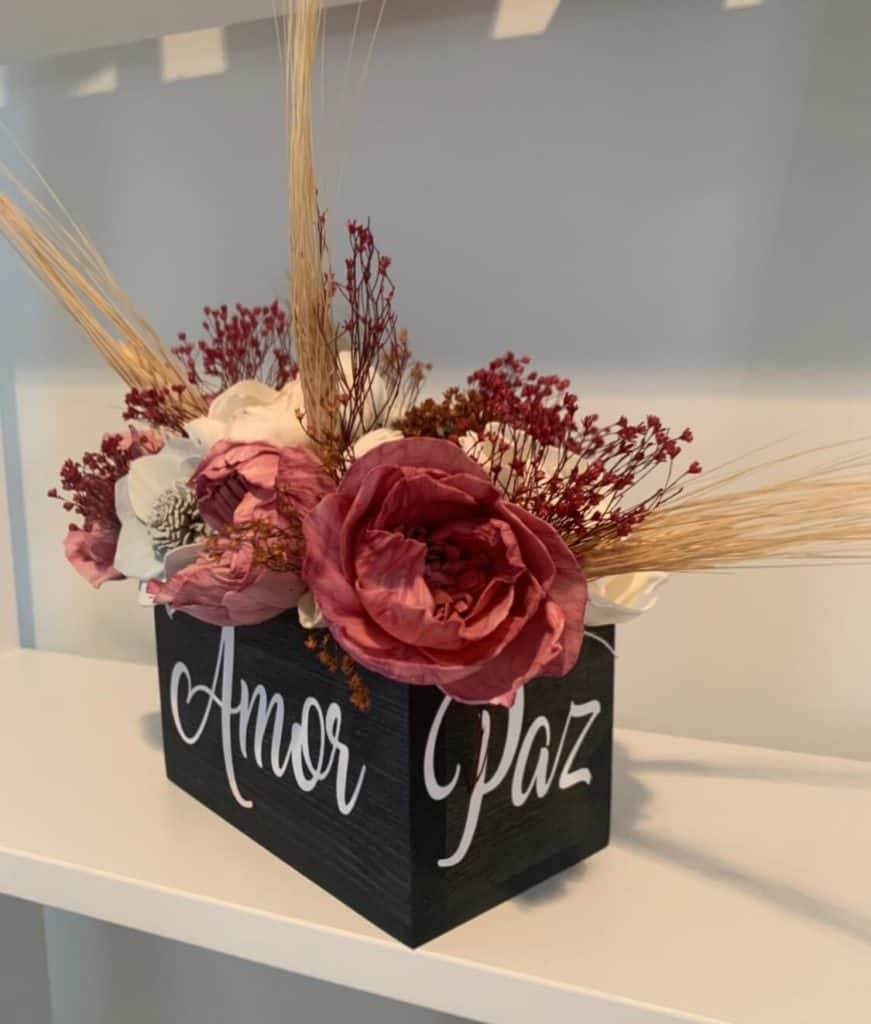
Once your flowers are all in place, then start cutting the filler portions. I just randomly placed pieces of the mahogany and burgundy fillers around and added some of the wheat fillers. Fell free to cut the wheat fillers if you think they’re sticking out too much.
Make sure to look at it all around so that the foam isn’t showing and find spots where you need to add filler to it. Be creative and have fun doing it. Also, it’s ok if you don’t use all of the flowers included.
Final Look
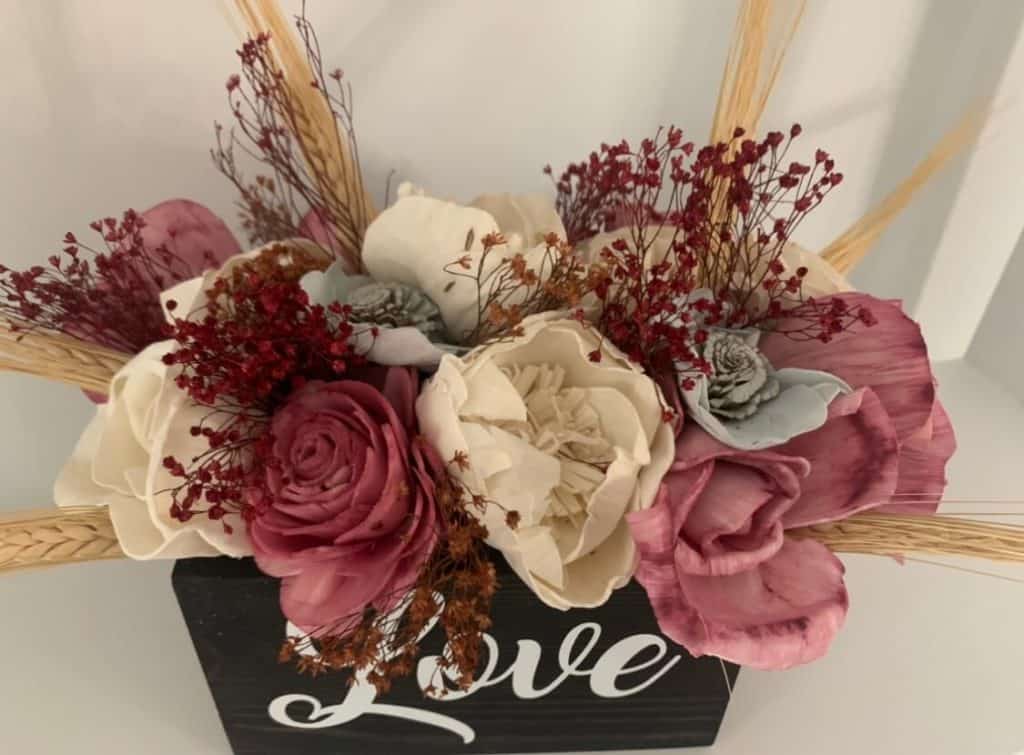
I’m thrilled how it turned out and now that I’ve finished marrying my Cricut Design with Sola Wood Flower’s project, it’s time to display. This would also make an amazing gift for someone. I hope you try this out and don’t forget that creativity has no limits.
This post may contain affiliate links which may provide me with a small percentage of purchased items. This does not affect the price of your product but does allow me to continue to provide you great content and free resources.

