I must admit I never thought I would DIY wedding invitations using my Cricut. But when my son and his fiance asked me if I would consider it, I was honored and terrified all at once. After all, I had planned weddings and events BUT I had never created wedding invitations for anyone. So if I was ever going to do it, it would be for my son for his 2018 Las Vegas Wedding.
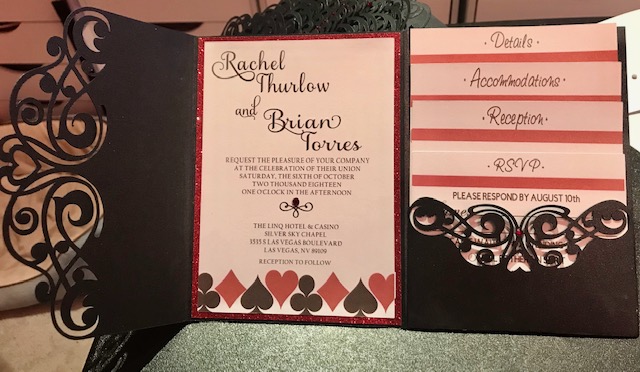
Little did I know that I would fall even deeper in love with everything about weddings. They gave me creative freedom which just got my creativity flowing and made me want to push myself even more to make them as special as they could be. And yes you can buy them and save yourself the headaches, sleepless nights and paper cuts but there is nothing like the feeling when you hold your finished product and you’re in awe at what you’ve accomplished…somehow it all seems worth it.
The Style
I knew I wanted a pocketfold card using black, white and red as the color palette. After all it was a Las Vegas wedding and somewhere in there glitter had to be involved. So off I went to find my templates and design the invitation.
Supplies Used
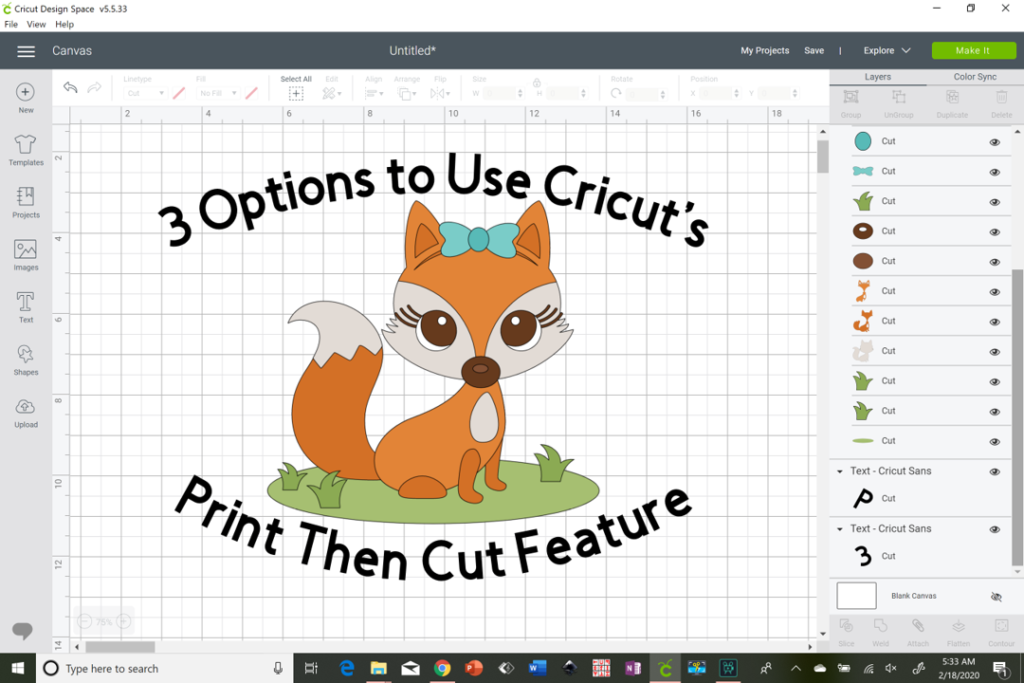
I bought the lace template on Etsy and the 11×17 black onyx metallic cardstock from Paper and More. For the wedding invitation and inserts I used the silver Recollections cardstock from Michaels. For the back border and band I used Cricut’s red and black glitter cardstock. I designed everything on Cricut’s Design Space. I knew I could create the exact size card I needed for the invitation, customize all of my text and then flatten it so that I could do it as a print then cut project.
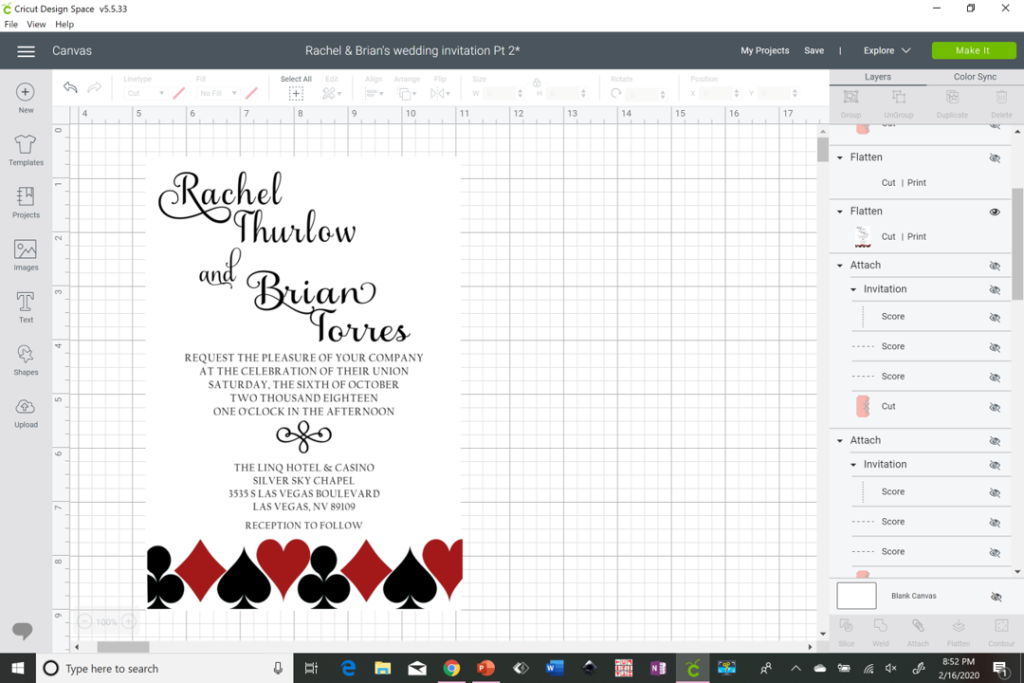
Click below for my Cricut Design Space Print Then Cut Project Tutorial
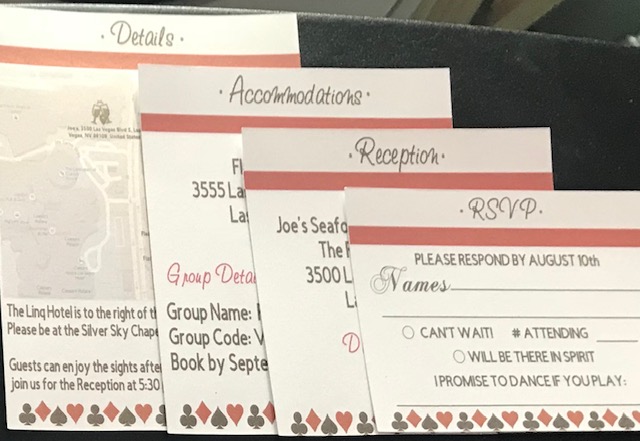
I also wanted to do the pocket inserts with the exact details guests needed for the wedding, including the RSVP card. The tricky part was sizing each of the inserts as I wanted the title on top to just peek out over each one and give the cascading effect. AGAIN, super easy with Cricut Design Space because I could layer each card as I created them on screen to make sure they would print and look exactly as I envisioned.
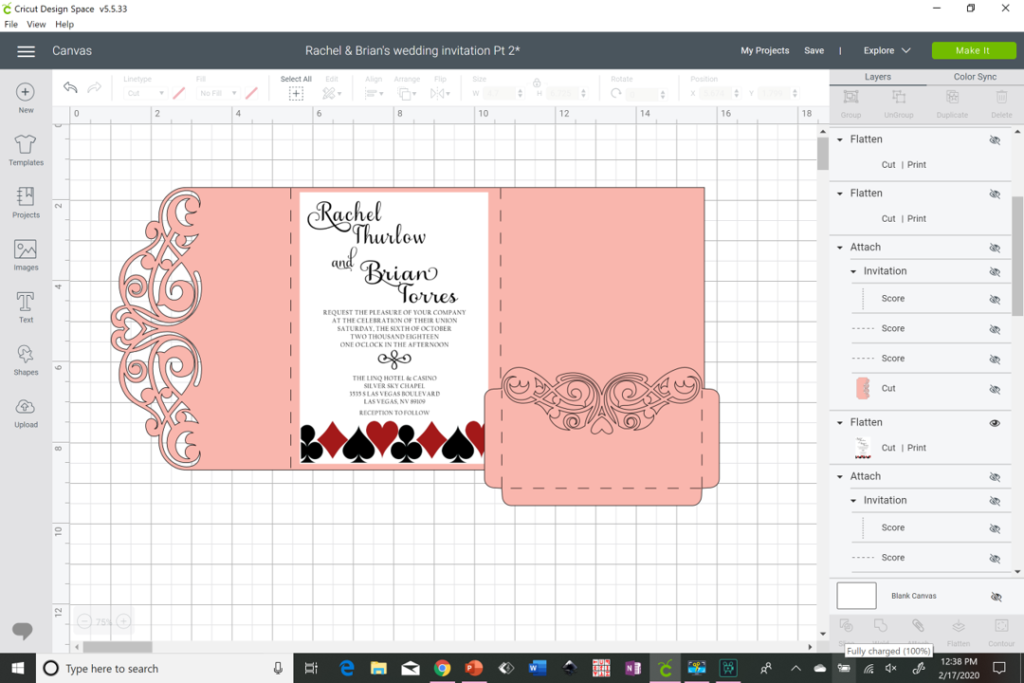
For the lace card backing, I uploaded the purchased file into Cricut Design Space and made sure to size it properly. For the main lace card backing I sized it at 7”h x 14.704”w, the small side card pocket is sized at 3.424” x 5.82” and the invitation itself is 6.725” x 4.7”. Notice I left a border between the score lines and the invitation; that’s because I added a red glitter backing first and then I glued the invitation to it.
I designed the invitation and insert cards in Design Space. The measurement for the side cards are:
- Details 4.764″ W x 6.7 H
- Accommodations – 4.764″ W x 5.8″ H
- Reception – 4.764″ W x 4.8″ H
- RSVP – 4.764″ W x 3.5″ H
Assembling Your DIY Wedding Invitation
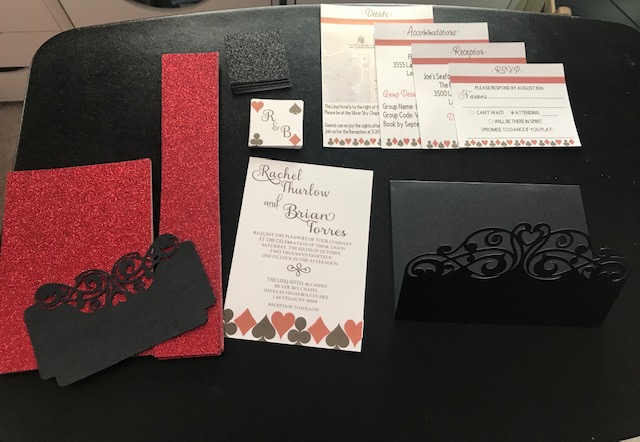
Once everything was cut and printed, I created a red band and tag that would go around the invitation itself to keep it closed. Then it was time to assemble the invitations. I thought this would be hard but assembling them was so easy.
TIP: Use the intricate cut setting on your Cricut as well as the more pressure setting to make sure the blade cuts all the way through your heavier cardstock.
Here’s a video of how I put one together. I had totally forgotten to videotape the process and lucky for me that as all couples do, they added someone to the invite list and I had to put another one together.
TIP: Always cut/print extras so that you have in case something happens during assembly or in case you have a last minute guest.
What I Learned
- I am more patient than I thought I was..haha!
- When you put your heart into your craft, there is nothing you can’t achieve. Fear holds us back from trying, but I had to step out and believe that I could do this.
- Give yourself plenty of time to design and create. If I did it, you can too!
- Dare yourself, make 1 sample; you may surprise yourself at how easy it can be. After all, who better than you to create what’s in your heart and mind.
Don’t look for perfection to make others happy. If they are perfect for you, then that’s all that should matter. If you can dream it, you can do it!
As always, love what you do and do what you love. Feel free to contact me with any questions.
