When I created this post the Cricut Offset feature was not available yet. So I’m leaving this here as is in case anyone wants to learn how to do the Family Birthdays Knockout Design using Inkscape. However, I have a new video showing how to do it with the new Cricut Offset feature here as well.

KEEP READING to learn how to make WITH INKSCAPE AS WELL
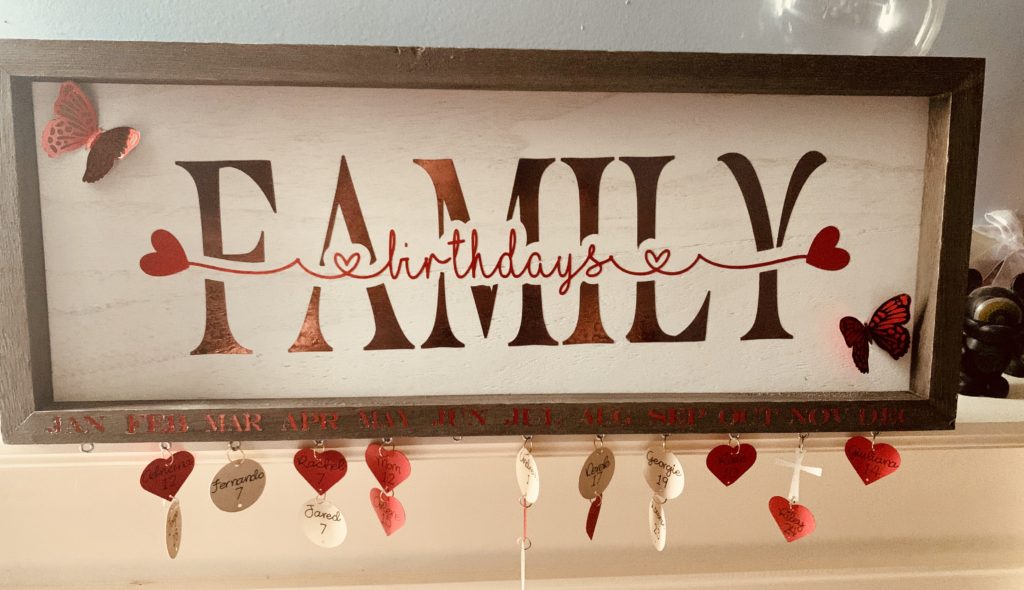
It so happens that my Mom’s birthday is a couple of days after Mother’s Day so I created this great reminder gift for her because she is getting up in her years (she’s going to kill me). Because she keeps forgetting birthdays or wishing happy birthday to my daughter on the wrong date, I think this Family Birthdays Knockout Design is not only practical but very stylish for her home.
It can be intimidating
It was so much fun to do as it’s not the traditional svg style and makes a great gift for anyone who has a growing family. There may be a lot of steps and I introduce some new tools; however, I promise that you can do this and it will raise your creative game.
Also, the completed SVG is available in my Resource Library, make sure to subscribe to gain access to this file and many other resources.
Note: This tutorial is on how to make the knockout design. Because some of us are visual learners, I’ve included a detailed tutorial at the bottom of the page. In addition to the video for the knockout it also has details of the entire design, including how I did the htv on wood and how I set up the hooks and names.

To create this version I use Inkscape which is a free software program that I downloaded on my PC. Please don’t be intimidated that it’s another software program to learn. I give you step-by-step instructions to create this on your own and once you learn you can use this technique on so many other projects.
Supplies Used:
Cricut Machine – I used my Explore Air 2 for this project
Cricut EasyPress Mini – This was the perfect size to use inside the board and on the edges.
Weeding Tools – to remove the excess in betweent the cut letters
Surface for your design – You can use a shadow box, frame or other surface that gives you enough space to install the hooks on the bottom. I just used a rectangular shadow box with a wood backing that I found at a local shop.
Inkscape Program – free download on your PC here.
Vinyl – I used Siser Easyweed Electric HTV in Red and Cricut Foil Iron-On in Espresso, in addition, you can also do this with permanent/651 vinyl.
Cardstock – I used beige and red cardstock from Recollections packages to make the hearts and circles
Cricut Pens – I used the black fine point pen to write the names/dates on cardstock
Screw Eye Hooks – This is to connect to the bottom of the board. I purchased mine on Amazon here.
Jump Rings – these are the hooks to connect the hearts and circles to each other. I purchased a kit on Amazon that included the tweezers and needle nose pliers here.
Create Initial Text on Design Space
You first want to get your text written on design space so that you space it out based on the surface you are going to put it on. For the word FAMILY, I used Cricut’s font called Masqualero Pro Demi Bold but you can use any font you like. I suggest using one that is not too thin so that it is easy to cut on vinyl and stands out more on your design.
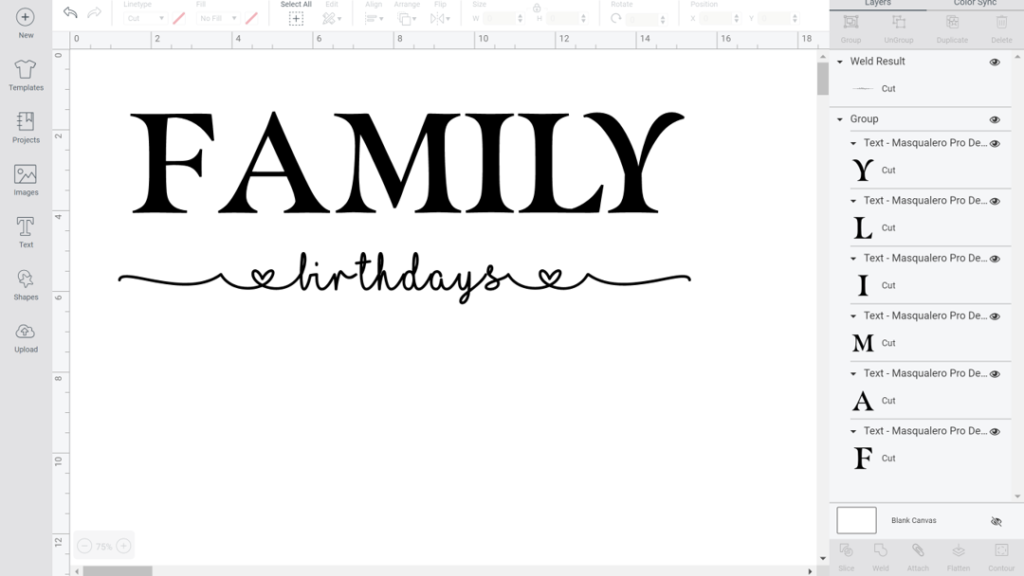
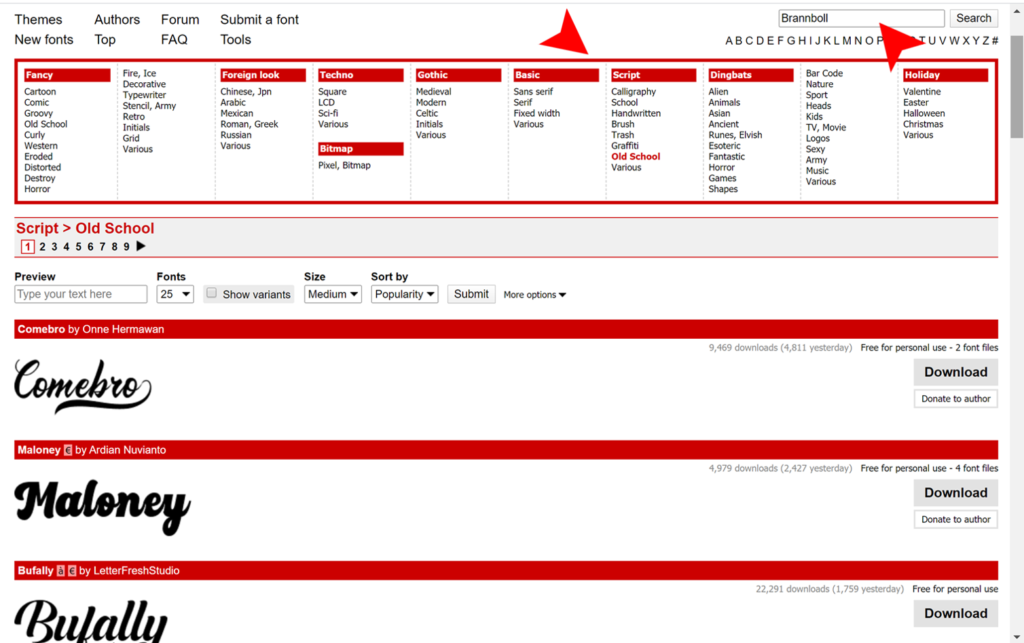
For the word birthdays, I used the famous I Love Glitter font which I downloaded from dafont.com. Once you type it you will see that the spacing is far off for each letter. Use the letter spacing tool at the top and press on the down arrow until you like how close the letters are.
CLICK BELOW TO LEARN HOW TO UPLOAD FONTS FROM DAFONT.COM INTO YOUR PC
TIP – To get the heart and swirls on the end you have to use the left and right [ ] brackets for the swirls and the Shift _ key for the hearts.
Get Inkscape Ready
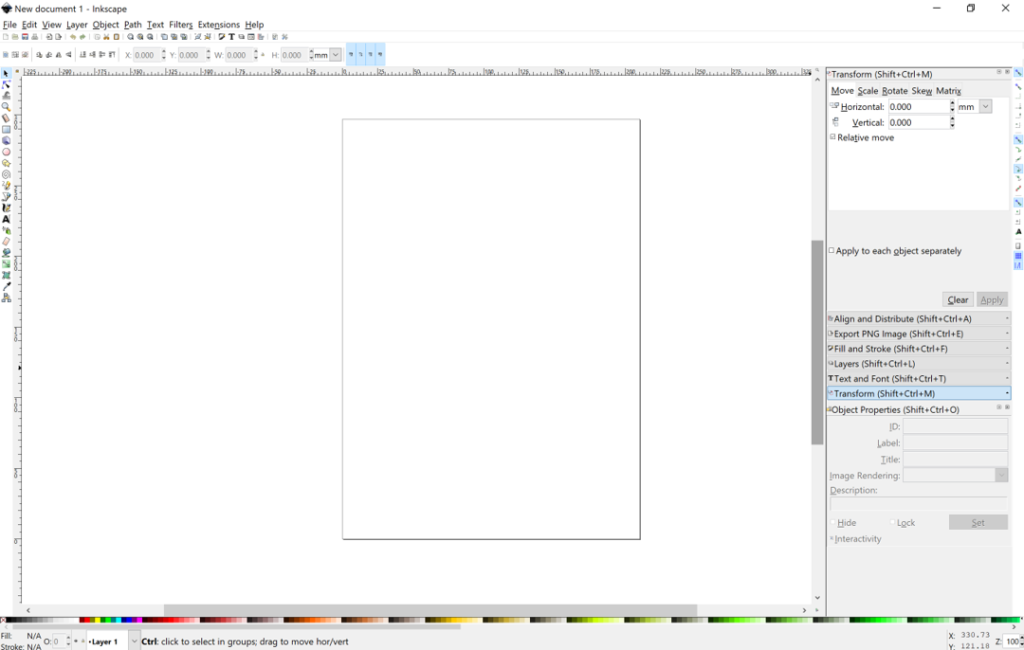
Make sure to have Inkscape open and minimized at the bottom of your computer and ready before you move on to the next step. When you open inkscape you will see a vertical white shape in the middle of the screen, that is your working space. It may show up small, so just go up to the View tab, click on Zoom and hit the + sign until it’s the right size for you to be able to see properly. Just move your bottom or side bar over and up and down until the white rectangle is placed in the middle of the screen.
Snipping Tool is Amazing
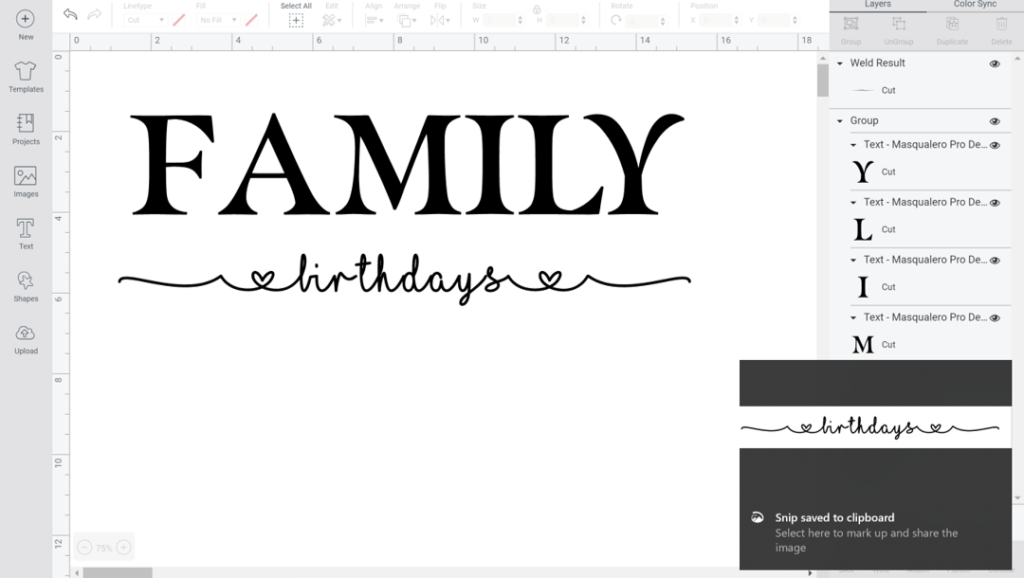
On the PC there is a great app called snipping tool, and it helps you highlight certain areas of your screen that you want to copy and paste somewhere else without having to first save on your computer. That is what I used to copy the word birthdays from Design Space to Inkscape. The traditional Cut and Paste does not work from Design Space.
Once you have the snipping tool downloaded, you hold down the Windows key, Shift and S to activate it. You should see the screen go a little dark and a menu pop up at the top of the page.

I just use the first option, rectangle. All you have to do is highlight around the word birthdays and it automatically copies it and places it on your clipboard. If you mess up the first time, no worries. Just hold down the Windows and Shift key and press S again and you can do it over. You will see a notification on the bottom right indicating that you have copied a clip. Open up your Inkscape window now.
TIP: I believe for Mac users the same effect can be achieved with the Command Shift 4, but don’t hold me to that.
Let’s Go to Inkscape
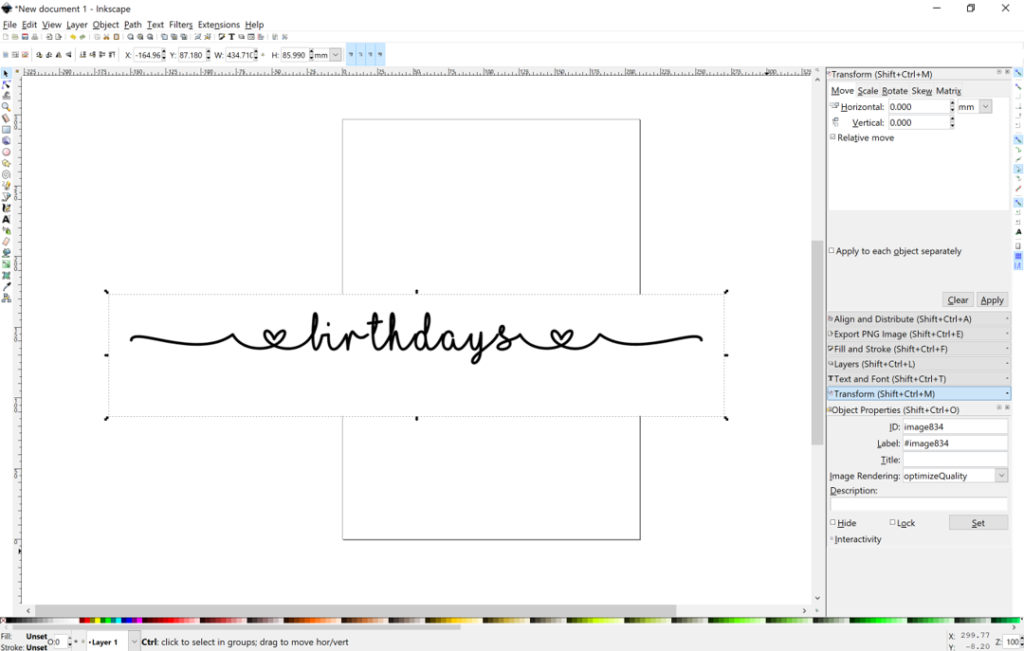
Once you have Inkscape opened and you have resized the screen accordingly, go ahead and paste the copied birthdays word by using CTRL V or right click and paste or however else your system lets you paste a copied item.
You should see the word birthdays pop up with a rectangular frame around it and tiny black arrows. Don’t worry that it’s just sprawled across the screen and not within the white rectangular box, that is perfectly fine.
Time to Trace Bitmap
Yes, this may sound like a foreign language to you right now but I promise it is very easy and you will be so happy you learned this so you could do it to many other designs besides the Family Birthdays Knockout design.
Leave the word birthdays with the border around it, go to the top toolbar, click on Path and then scroll down to Trace Bitmap. You can also use the shortcut Shift+Alt+B.
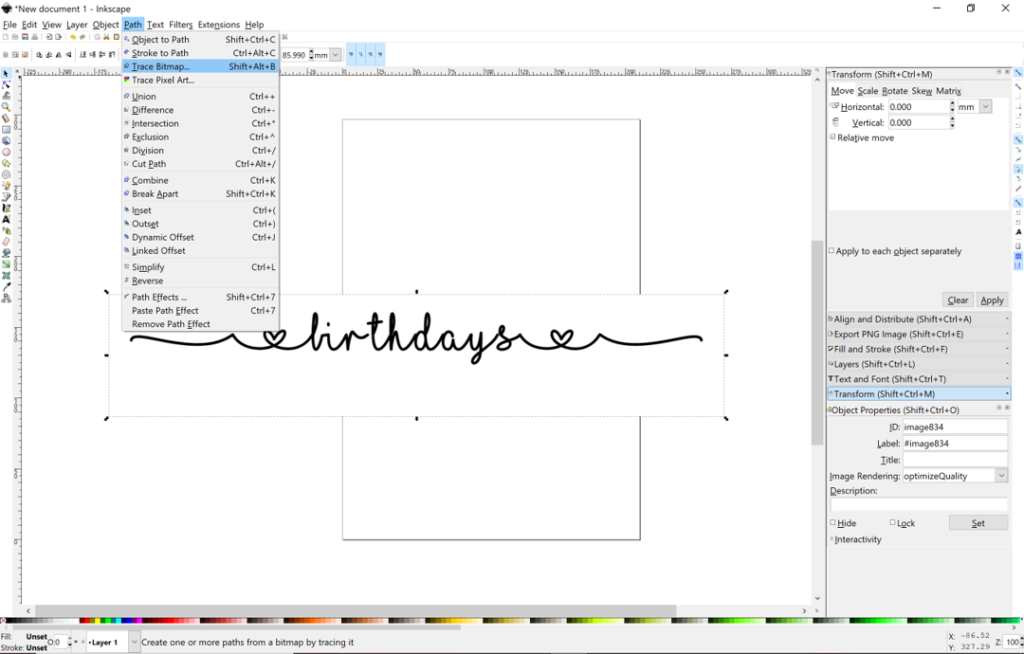
You will see a new popup window on the right side that says Trace Bitmap. This is where the magic happens and you turn your ordinary word into the bubble effect SVG that you can then transfer into Design Space for your project.
In Eight Simple Steps
1. Make sure the word birthdays is selected and still has the border around it with the little black arrows. If it doesn’t, just click on the word itself and it should come back.
2. Go to the Trace Bitmap popup and on the bottom make sure to click on the box that says Live Preview. This will allow you to see the changes as they happen in that little preview box.
3. Go to the left of that and click on Remove Background. This will make it a transparent image when we are finished (saves a step in Design Space later)
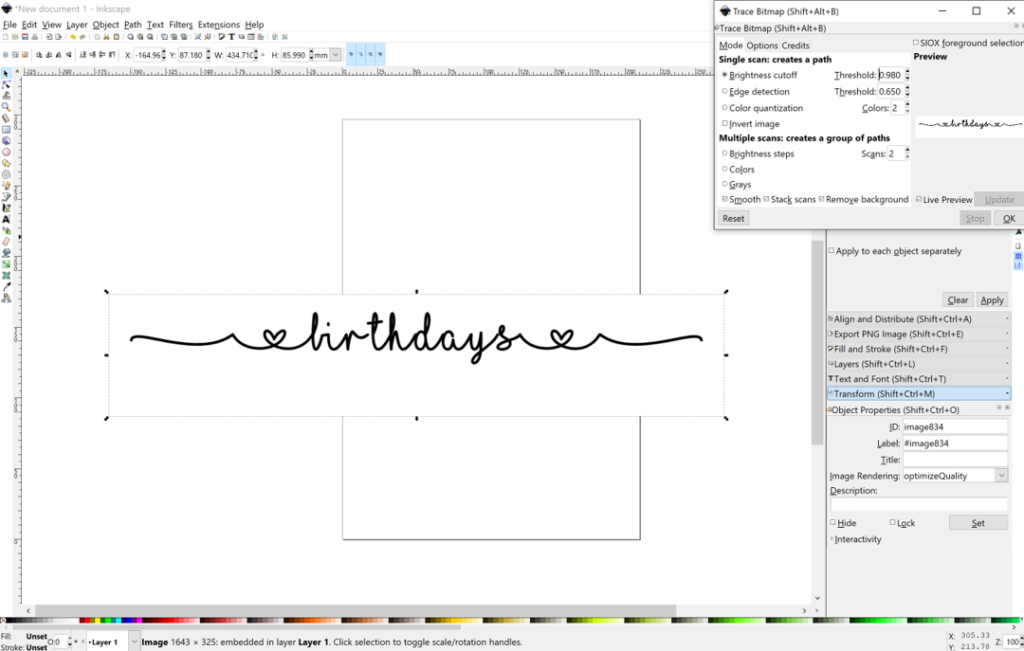
4. You will see that under Colors and Scans the number 8 is probably there. Use the down arrow and change both of those to 2. If we had an image with multiple colors that number would be higher, but since we’re just scanning black text 2 is fine.
5. Go up to the top number in Threshold. Keep clicking on the top arrow until the word birthdays in the preview box turns into a black rectangle. That may be at the 100 point. Once that happens, click on the button arrow one click at a time until the word birthdays comes back. That may be at .980. Stop at that point.
This is what your screen should look like now with all of the correct settings on the upper right.
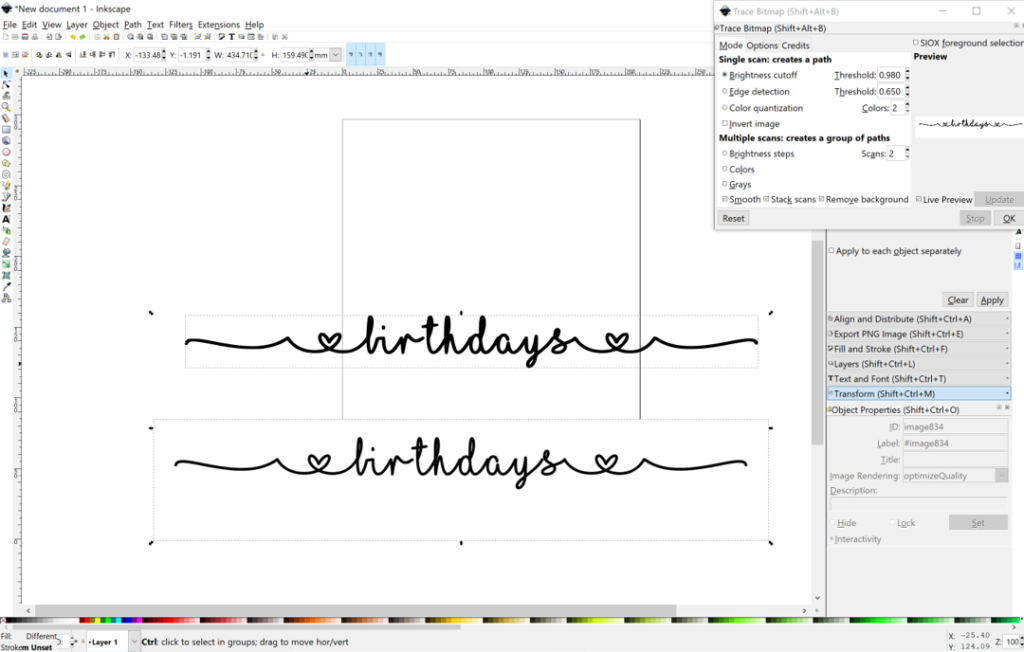
6. Go to the bottom right corner and click on OK. You will see the slightest flash on your screen and it may look like nothing happened, but if you followed all of the steps you have just traced your word and there will be a new layer of the word birthdays underneath your original one.
7. Click on the word and drag down the top layer. That is the original one. You can tell the difference between the 2 because the new layer is slightly darker black and if you click on it, it should have a more compact rectangle around it. That is the one we will be working with so you can go ahead and delete the original one you copied onto Inkscape.
8. Stay in Inkscape but you can close out the Trace Bitmap pop up on the right upper corner now.
Time to Create the Bubble Effect (technical term, I’m sure)
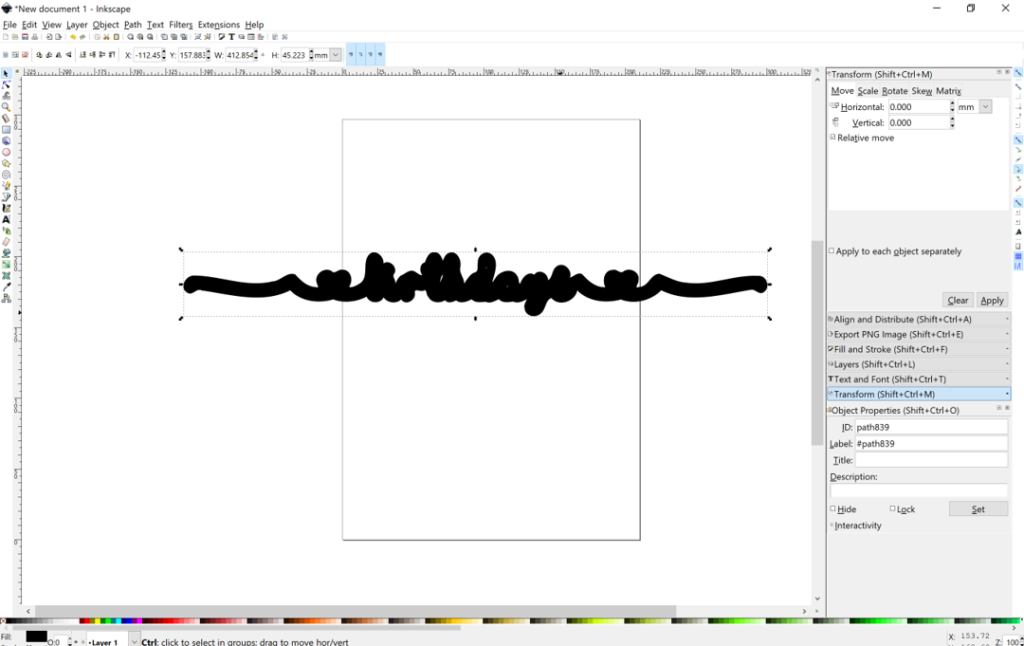
Now we are ready to create our effect. Make sure the word birthdays has the rectangular shape around it with the little black arrows, if not click on the word and it should come back. Now hold down CTRL and click on the number 0. The word should get darker and take on the bubble effect look.
Keep playing with it by clicking on the number 0 and making it larger until you like the effect. You can always do CTRL Z and it will undo your last step. I usually click on it 2x as it gives it the look that I’m trying to achieve without distorting it too much.
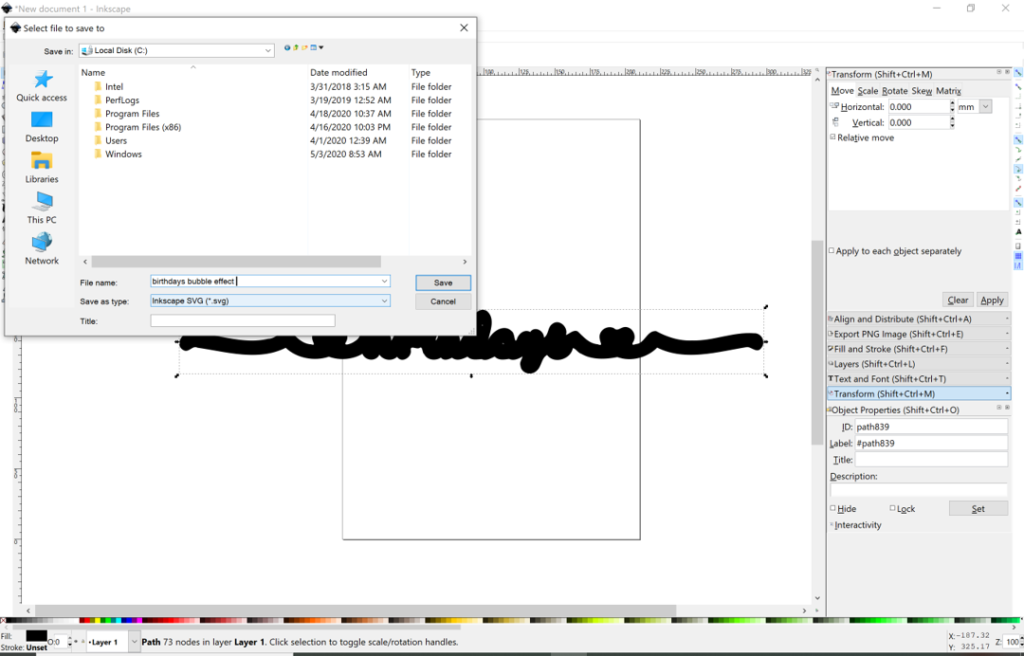
Once you have achieved the look you want, make sure the rectangle is around the word by clicking on it. Go to the top and do File – Save As or you can do the shortcut Shift + CTRL + S. Save it somewhere where you will remember as we will need to find the file in a few moments. You will also note that the Save As Type is already set to Inkscape SVG; that is what you want to save this as so that it imports into Design Space.
Back to Design Space
Once you have saved your file from Inkscape, go back to your Design Space Canvas and upload the SVG you just saved just like you would normally upload an external image. You should now have the word FAMILY, birthdays and the bubble effect birthdays on your Canvas. Take your original birthdays word and place it over FAMILY. Resize it to whatever length you want it.
TIP: Change the color of the word birthdays to a lighter color so that you can see it better against the black.

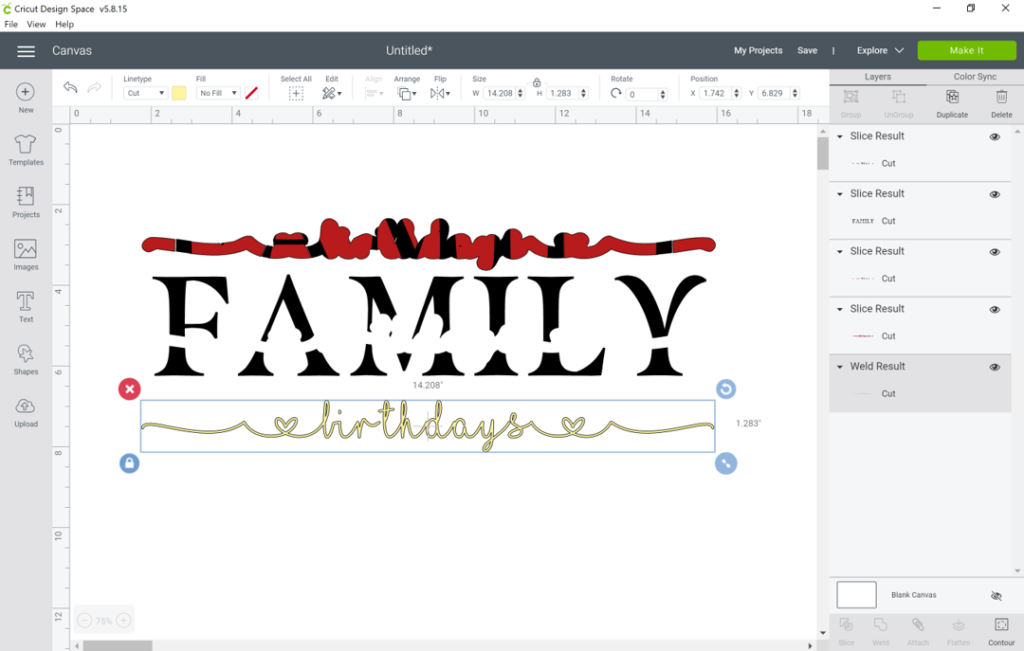
Once you have it at the length you want, write down the width and height of the word birthdays. Click on your bubble word and resize it to the exact measurements you just wrote down.
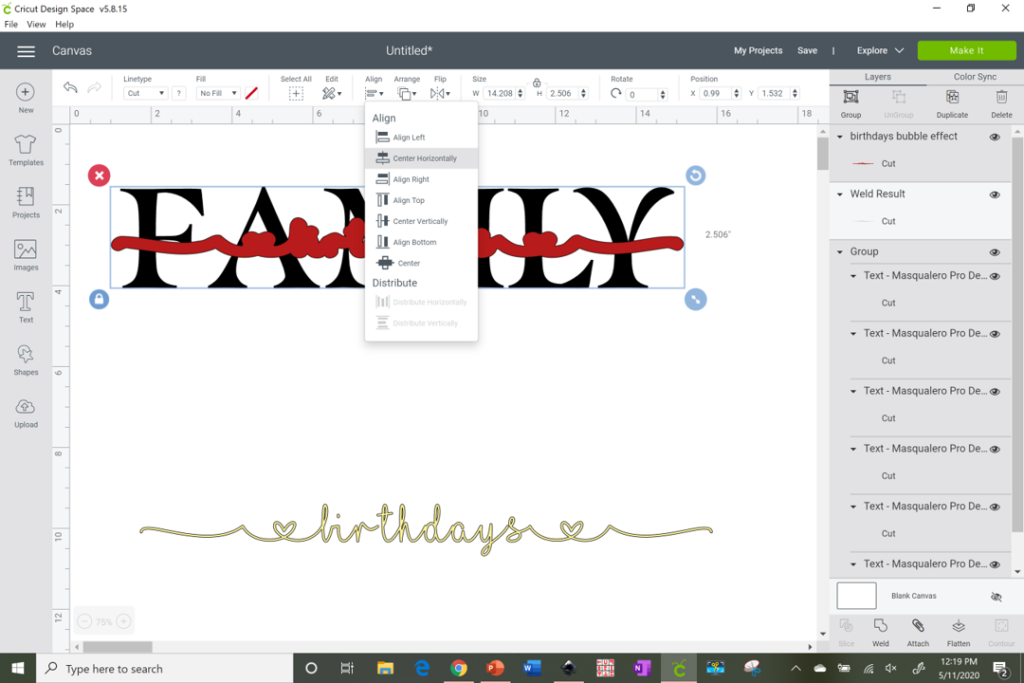
Place the bubble word over the word Family and place it around the middle where you would like to have the break in the word. Again, change the color so that you can see it against the black. This does not have to be the final color. Once you have it placed properly. Highlight both words together, go to the top and click on Align and click on center horizontally.
This is It!
The moment we’ve been waiting for. You are now ready to take the final step in creating your Family Birthdays Knockout Design. Highlight both words together and click on Slice at the bottom right of the layers panel. There will be a quick flash on the screen and your knockout should be done.
The easiest way is to click on the word FAMILY and drag it down. You will leave all of the excess that was cut out at the top of the screen. You can go ahead and highlight all of those excess pieces and delete them.
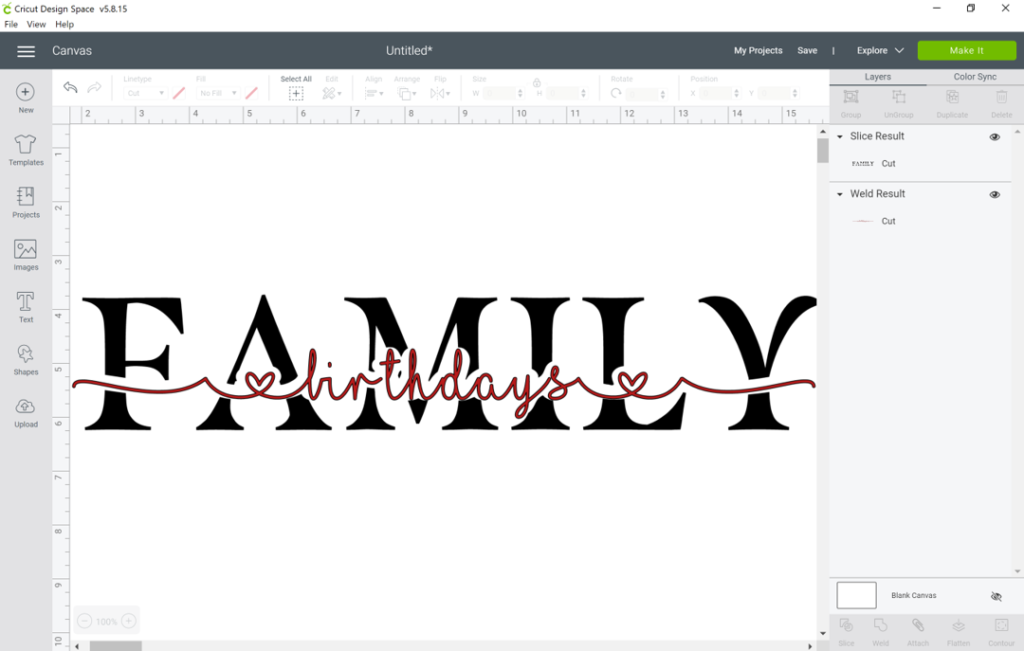
Final Image
Change the color of the word birthdays to your final color choice so that you can envision how your project will look. Drag it up and fit it in the openings of the knockout design on the word FAMILY. Let the top bumps of the letters t h and d guide you in the placement.
That’s it, you have done it; you have now completed your Family Birthdays Knockout. I know it seems like a thousand steps to get this done, but once you get the hang of it it’s about 5 minutes to complete. Think of all of the other projects you can now do with this new style.
TIP: If by chance the word seems a little off, unlock the spacing for the word birthdays and drag it in a little in or out to align it properly.
This was the hardest part of the project. If you want the full details of how I created the rest of the project, applied the HTV to my board and fully assembled the names, make sure to watch the full tutorial video below.
This was such an incredibly fun project and I hope you get to do a Family Birthdays Knockout Design as well. I would love for you to share your creations with me on my ACraftyLatina Facebook page and please comment below with any questions or suggestions. I hope I introduced you to some new useful tools that will take your crafting to a new level.
As always, remember to Do What You Love and Love What You Do!