It seems like forever I asked myself, “How do I use the print then cut feature in Cricut Design Space?” Now, hands down, this has to be the one feature that has saved me so much time in using my Cricut Design Space. What this means is that you will print on your home printer and then cut on your Cricut machine. It is a game changer because you can use this with cardstock or printable HTV (heat transfer vinyl) to create custom shirts, cards, invitations,etc. without having to do all of the layering and using so many different colors of vinyl.
TIP: This only works with inkjet printers
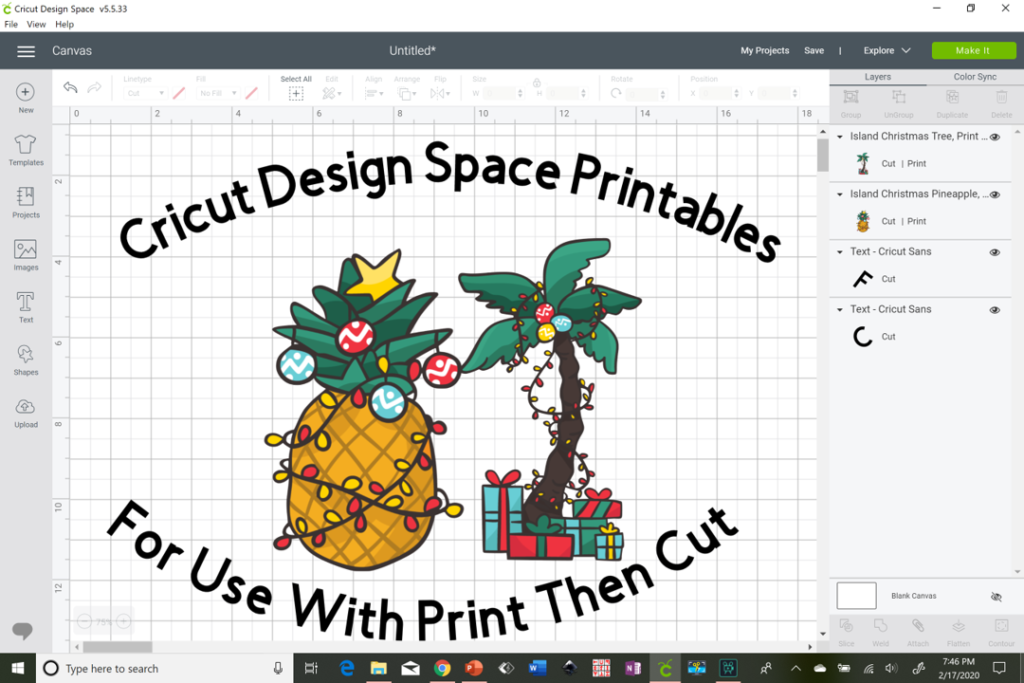
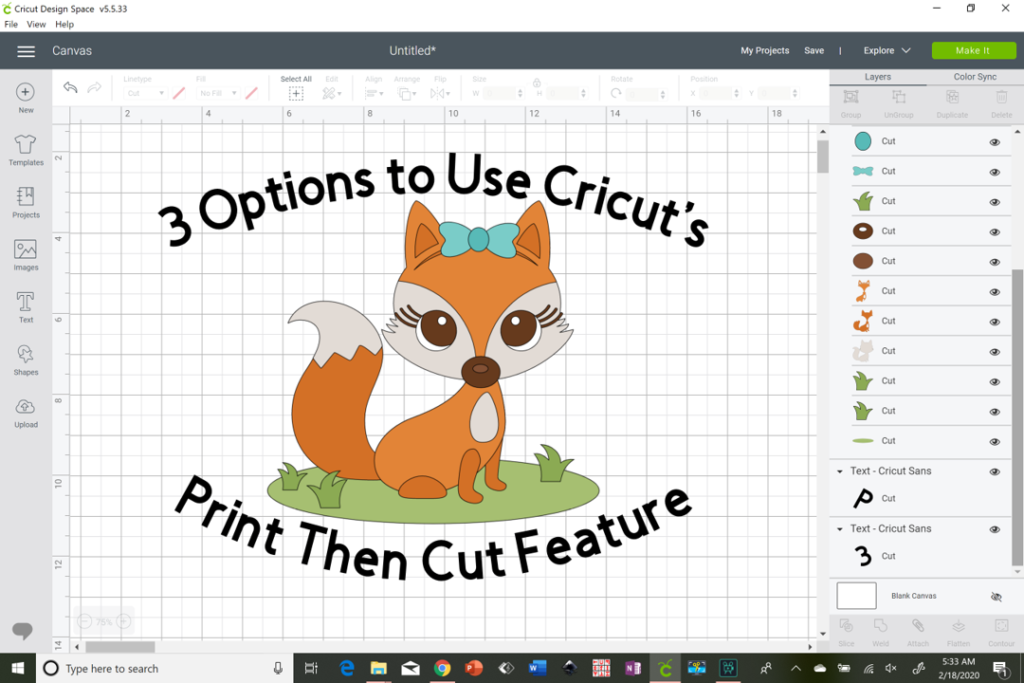
There are 3 ways that you can use the Print Then Cut feature.
- Uploading an image from Google into Cricut’s Design Space
- Using the preloaded printable images on Design Space
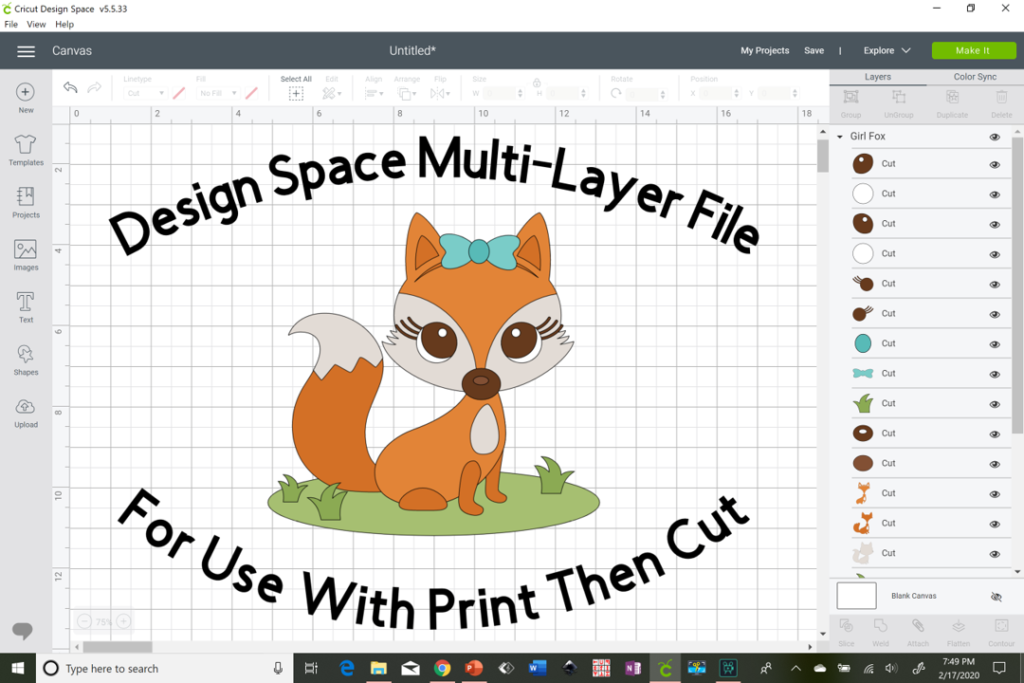
- Using the flatten feature on Design Space with a multi-layer image
Option 1 – Uploading an Image From Google
For option 1, Click on image for a tutorial on how I uploaded an image from Google into Cricut’s Design Space to use with the Print Then Cut option and make custom shirts for my son and granddaughter.
Note: You can scroll to the end to see the print and cut in action as well as how I iron it on using my EasyPress.
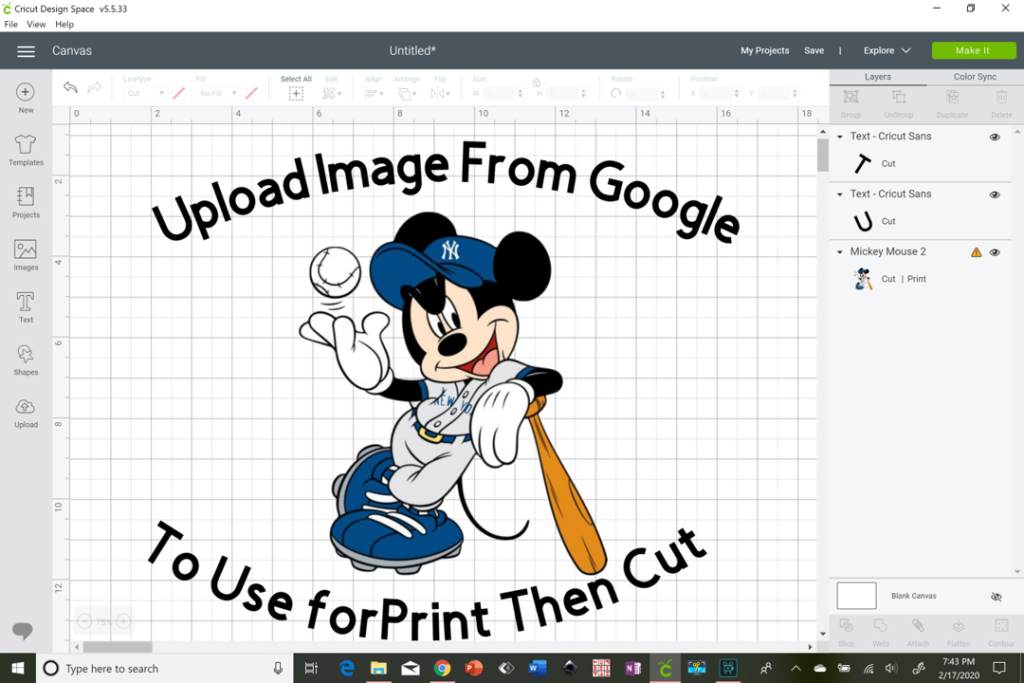
Tip: This image was used for a one-time personal use only; make sure you have the right to use any image for commercial use if you plan to sell your merchandise.
Now wasn’t that easy and fun! Now that you know how to use print then cut in Cricut Design space, the possibilities are endless. Let’s explore a couple of more options.
Make sure to watch the full Mickey shirt project at the bottom of this post.
Option 2 – Preloaded printable images on Design Space
On Design Space you will also find many images that are already created for just the Print Then Cut feature. You just have to filter on the upper right side to find them.
For option 2, click image below to see how to use the preloaded printable images on Cricut’s Design Space for Print Then Cut use.
Option 3 – Flatten Feature on Cricut’s Design Space for Print Then Cut
Believe it or not you can really use any image on Cricut’s Design Space with the Print Then Cut feature if you know how. There have been times when I love an image for a project but the thought of cutting so many layers on cardstock and then putting them together like a puzzle just seemed so darn time consuming. Luckily there’s a trick that will allow you to use multi-layered images without all of the little pieces rolling around.
Option 3 brings us the Flatten feature that will help us combine multi-layers into 1 single image and convert it from a cut file into a print file. Click image for tutorial.
Troubleshooting Tips:
Tip 1: Make sure to align your paper on the top left corner of your cutting mat; that will be the best way for your Cricut to be able to read the registration marks.
Tip 2: If your Cricut machine is not reading your registration marks, I’ve actually turned off the lights in the room and closed the top cover of my Cricut machine so that there is no glare on the light and the dark registration line is more prominent.
Tip 3: If your Print Then Cut feature is still not working correctly, you may need to calibrate your machine. Follow the directions here on how to Calibrate for Print Then Cut.
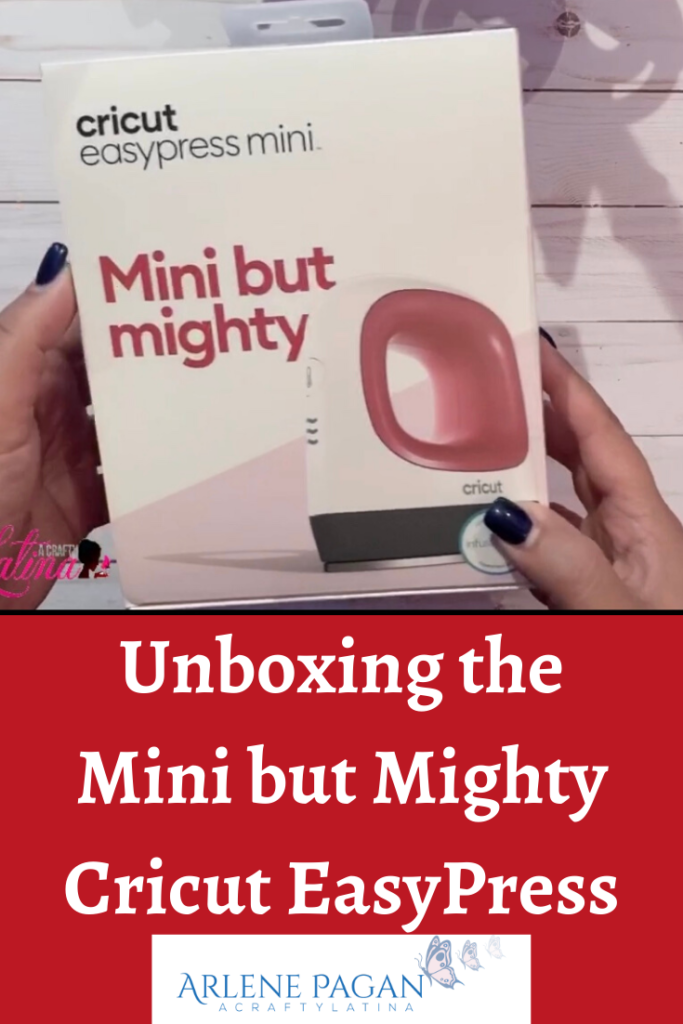
Click on the image below to see a video demonstrating the printing on the printable HTV, going into the Cricut Air 2 for cutting and using my EasyPress for ironing on the printable HTV on the shirt.
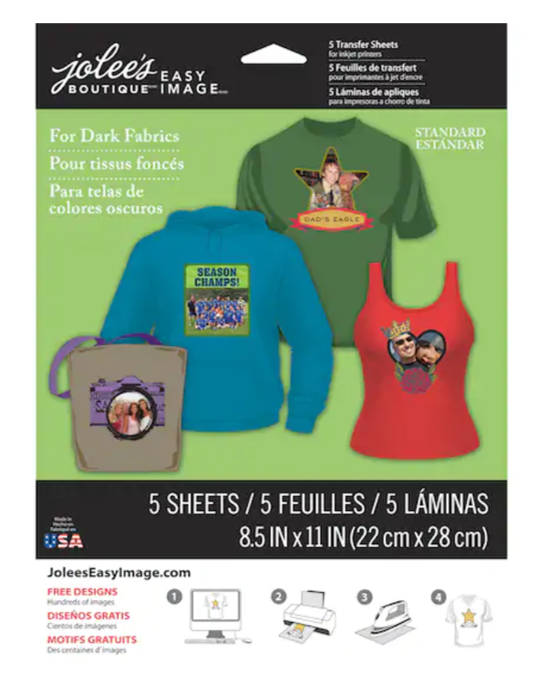
Tip: I used Jolee’s Easy Image Transfer Sheets for the printable iron-on images. Purchased it at Michaels.
I hope you enjoyed this tutorial; this truly is one of my favorite features of Cricut Design Space. As always, Love What You Do and Do What You Love. Please feel free to contact me with any questions.
