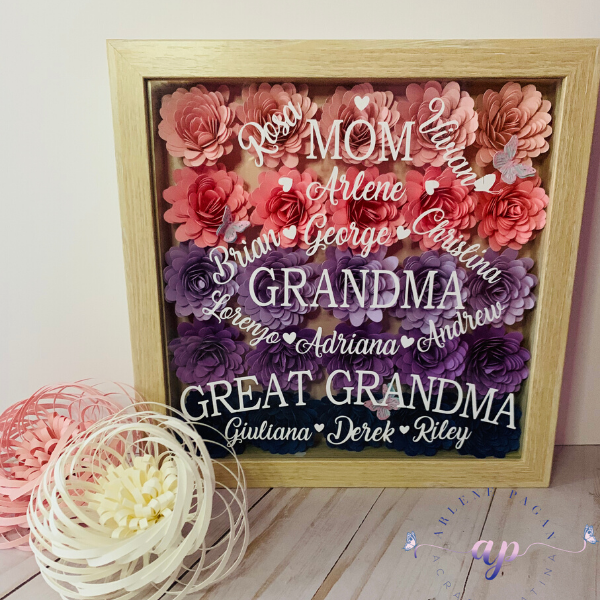
Like most of you, for the past couple of weeks I have been in self-quarantine so I decided to make a couple of Mother’s Day gifts for my mom, who I haven’t seen in weeks. This is my Mother’s Day Flower Shadow Box honoring her journey from Mom to Grandmother and yes even to Great Grandmother. Sometimes our moms don’t realize all of the lives they impact and this is a perfect way to honor their journey and show them how they have helped grow our family.
I have been wanting to do a shadow box full of flowers for a while now and this is the perfect time. I hope you give this a try as well, I would love to see your pictures if you do.
Materials Needed:
Before we get started, let’s go over the materials that you will need to make your shadow box with rolled flowers. I will also tell you what specific brands I used to make this.
- Cricut Machine – I used my Air 2 and, of course, you can also use the Maker. Finally, you can also use your Cricut Joy – see note below
- Blue or Green mat – I used the green to make sure the cardstock adhered
- Hot Glue Gun with hot glue sticks – I use the AdTech Drip-less Hi-Temp Glue gun with Gorilla Hot Glue sticks
- Cardstock Paper in selected colors – I use 8 ½ x 11 Recollections paper packs from Michaels
- 9×9 Shadow Box – I used the Studio Decor brand from Michaels
- Cricut Quilling tool – you can also use tweezers or anything that helps you grasp the edges
- Cricut Vinyl & Transfer Tape – I used Cricut permanent vinyl in white
Note: If you have the Cricut Joy, you can make the flowers 4.25” each, which is the maximum width. You will have to make more, about 7-8 for each row.
To fill your 9 x 9 shadow box, you will need approximately 25 flowers at 5.5” each; 5 of each color per row. I was able to cut 2 per page and used the rolled-flower method which was easier for this.
Remember to subscribe to my resource library for rolled flower templates and many other free resources.
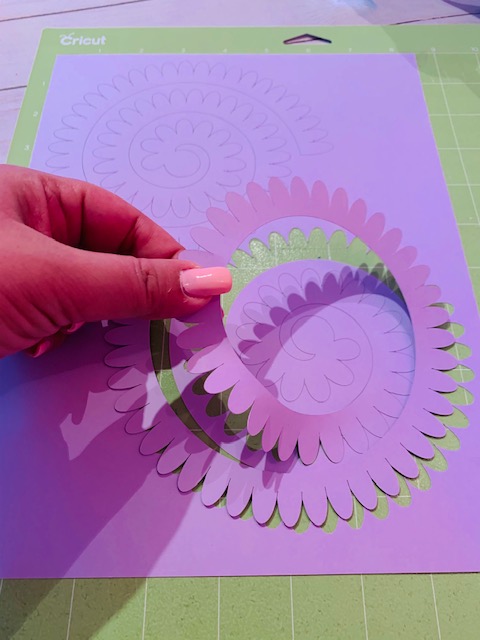
Carefully remove the flower from your mat. It’s so much fun when you pull it up and it just twirls around and off the mat..but do it carefully. The darn thing will rip and you’ll be so mad you have to cut it all again.
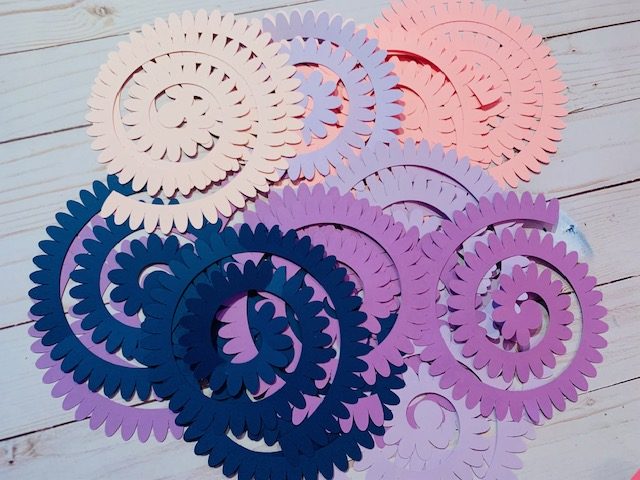
Rolling them up
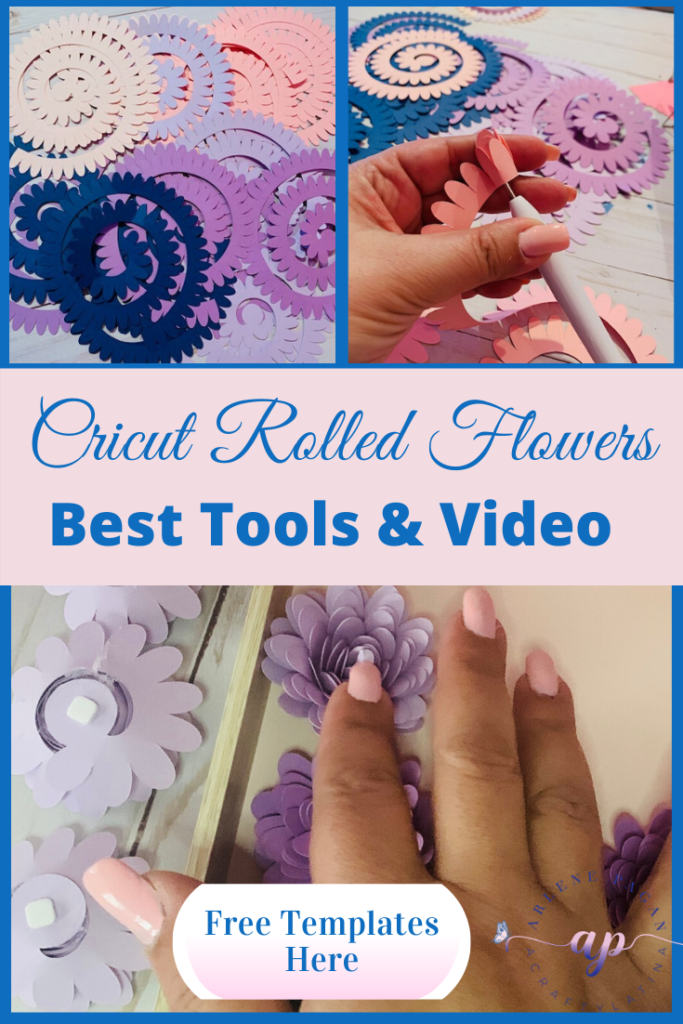
Once you have all of your colors done, then it’s time to start rolling. I use the Cricut quilling tool but I have used tweezers before as well. Below is a quick video demo on rolling the flowers. Be careful with the hot glue gun, those burns are no joke! I also wear silicone finger protectors when using the Hi-Temp Glue Gun. These are on Amazon, but you can find similar ones in craft stores.
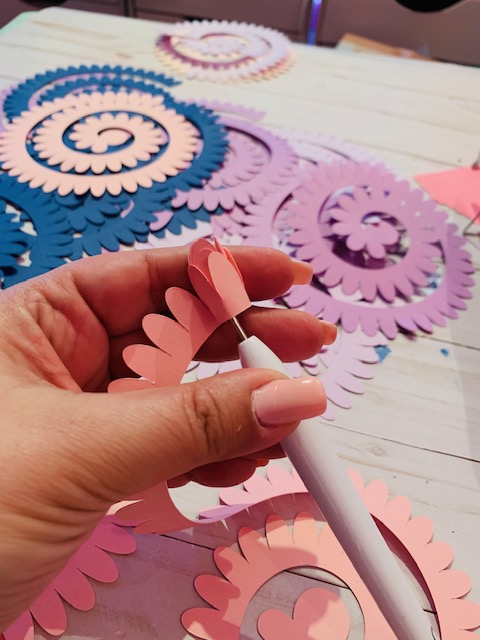
Note: You can also use a drink or coffee stirrer to help roll your flowers. You just need to cut a slit at the top so that you can insert the paper.
Your Message
You will need your quote or message to be cut in vinyl so you can attach to the front of the glass. As this is my Mother’s Day Flower Shadow Box, I chose to put all of my Mom’s childrens’ names, grandchildren and great grandchildren. You can choose to do the same or maybe have one of the kids write a quick note you can use or a favorite song lyric. Make your gift memorable and sentimental.
Note: I chose to put these in age order from left to right for each section to show the continuous growth in her family but you can do it alphabetically or by gender. There is no right or wrong way to list them. Except if your family is like mine, where everything’s a competition. I know for sure they are going to see who is listed first (insert eye roll).
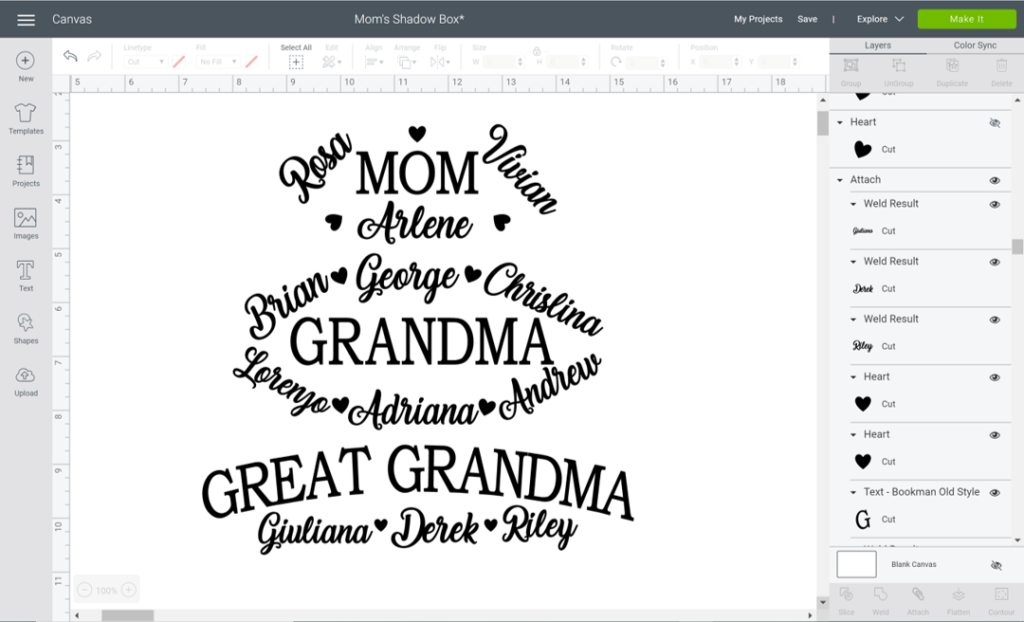
Also, this project doesn’t necessarily have to be used for a Mom’s gift. You can do this for a newlywed couple with their last name, monogram, date of wedding etc. The possibilities are endless.
Time to Assemble
So far this project is very simple to get ready so let’s see how quickly we can put this Mother’s Day Flower Shadow Box together.
Step 1 – Gather your materials. To stick the flowers I used 3D foam squares, just in case she wanted to replace colors in the future. You can also hot glue them or use double-stick tape. I attached a light pink cardstock with crafter’s tape to cover the beige backing of the shadow box and used glue dots to stick the mini butterflies.
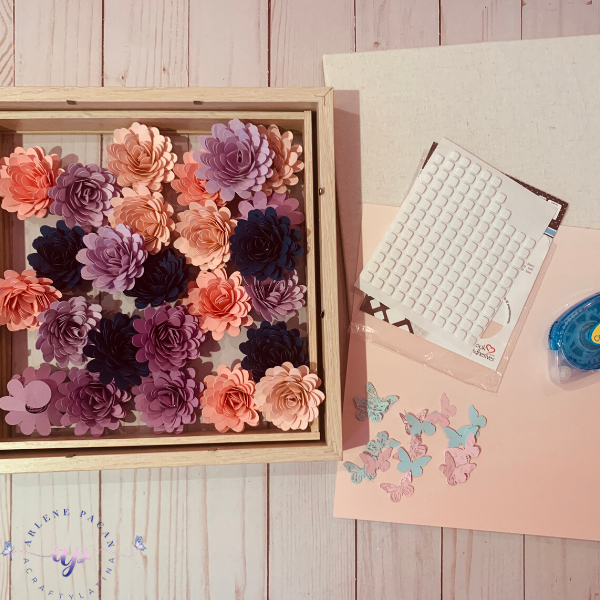
Step 2 – Stick the flowers. I decided to use an ombre effect with the different shades of pink going to darker blue to represent both the boys and girls in the family. It was simple to just put a 3D foam square on the back of each flower and stick to the cardstock backing. I also added 3 little butterflies on the flowers.
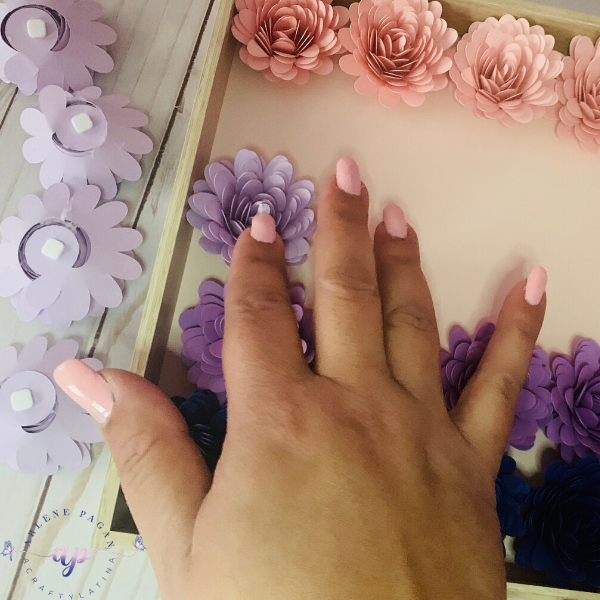
Step 3 – Attach your vinyl message. I used the Cricut white permanent vinyl and Cricut transfer tape. I made sure to attach the image before sending it to cut so that it remained in place as I wanted it to appear on the glass. This makes sure that my image is centered correctly.
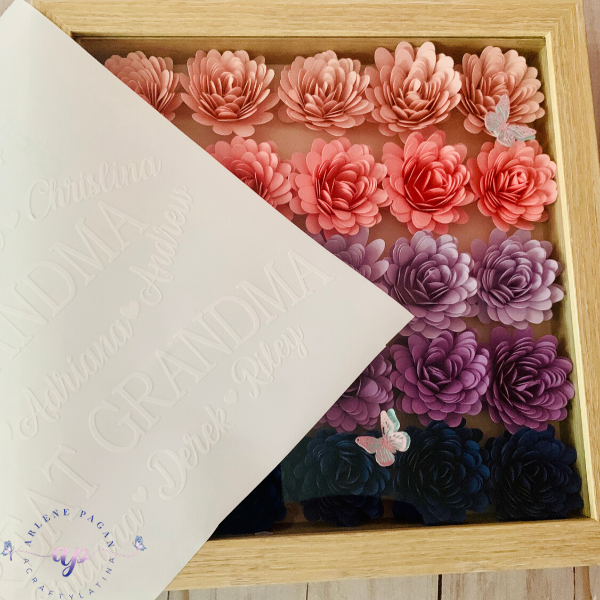
That’s it. This Mother’s Day Flower Shadow Box truly is an easy project with great sentimental value for any occasion. I hope you enjoy making yours as much as I enjoyed making this one for my Mom.
I would love to see your creations so please be sure to comment and share your pictures below.

As always, remember to Do What You Love and Love What you Do. Make sure to ask any questions below or comment if you would love to see a tutorial on a specific technique.

Other Posts You May Enjoy
- Harnessing the Power of AI Writing: the Essay Writer Unveiled
- Fun Projects for Valentine’s Day
- Cricut Infusible Ink – What it is and How to Use It
- Get the little ones ready for Back to School
- Fun 4th of July Decor with Cricut
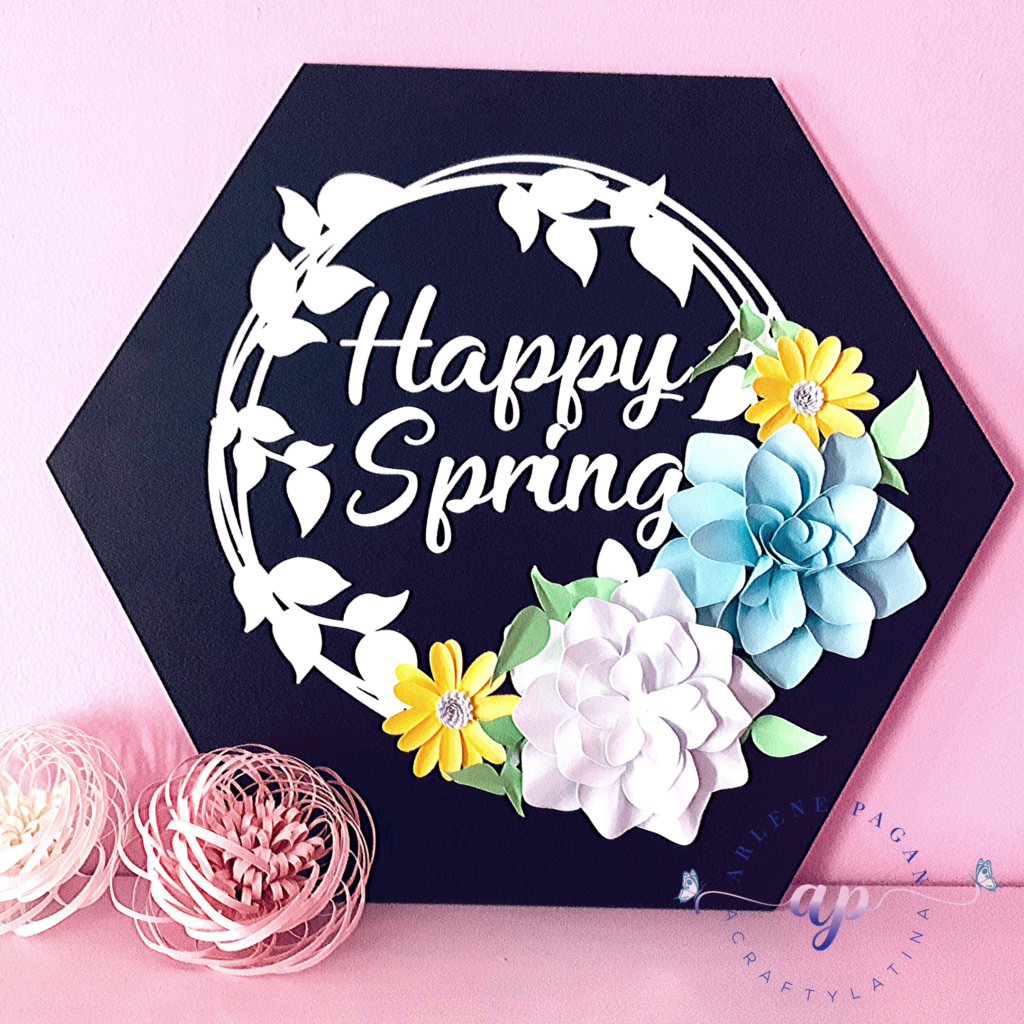
Learn how to make your Spring sign as well as how to get these floral templates free! Click Here

