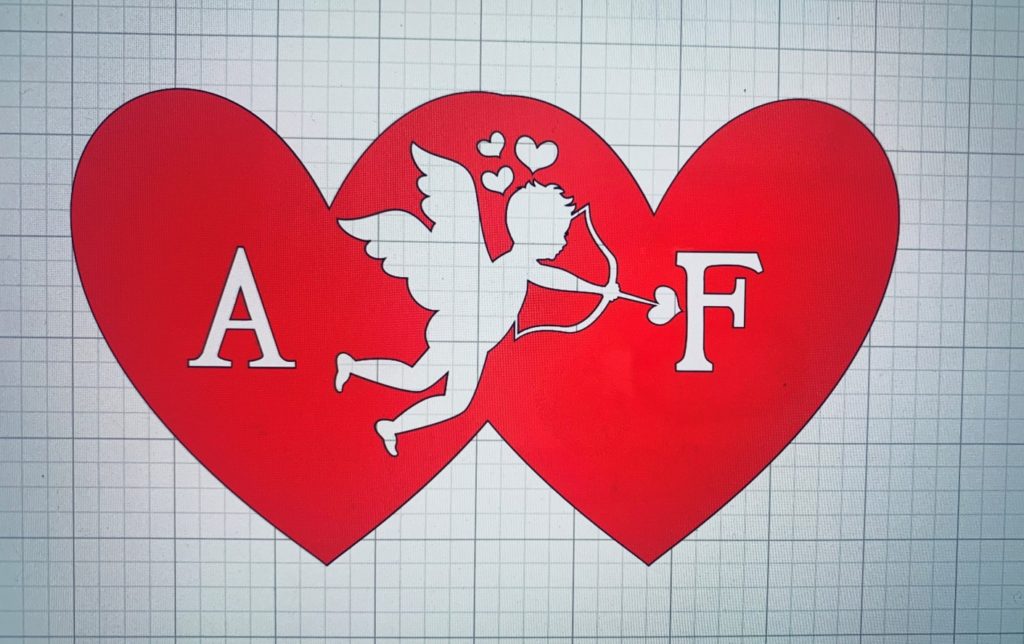
Today we will focus on how to use Weld in Design Space — TRUST me, you are going to love it because it will help make your designs look so professional, it will help you create customized images, and it will help your designs cut more smoothly.
What is Weld Anyway?
I think of using the Weld feature when I want to virtually glue or fuse my pieces together so that it becomes 1 seamless, connected item. When you Weld 2 or more items together, you eliminate the individual cut lines and it prints as 1 complete piece. This is especially helpful when I use a script font and want to connect the letters so that it looks like 1 single word or when I have 2 layers that I want to merge together.
NOTE – Weld is permanent and you cannot undo this step once you have moved on into the project. You have only 1 chance to undo and that is if you hit the undo arrow immediately after hitting Weld. Once you move on to another step, it is permanent.
This is How Weld Works on Text
Step 1 – Write your text; select your font (usually) a script font
Step 2 – To get the letters touching, keep clicking on Letter Space feature at the top menu bar until all letters touch
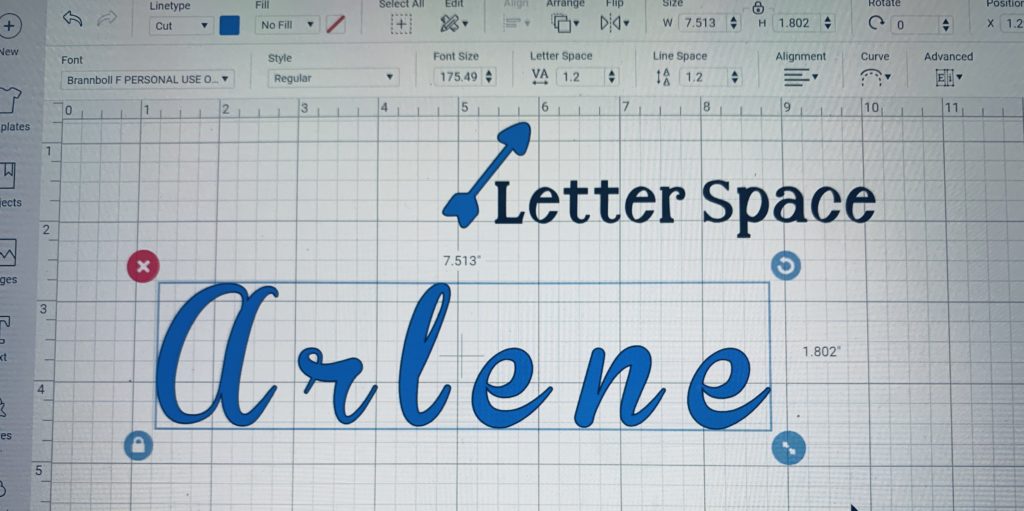
Step 3 – Now the word looks great and like a connected script word; however, if you look closely you will see that there are connecting seems where the letters meet; that is where your Cricut will cut each letter.
NOTE – just because it looks like they are together does not mean it will cut as 1 connected word. You can still see the seams where the “r” connects to the “A” and the breaks where each letter is connecting
Step 4 – Once you are happy with how it looks connected, go ahead and highlight the entire word and click on Weld on the bottom right hand corner
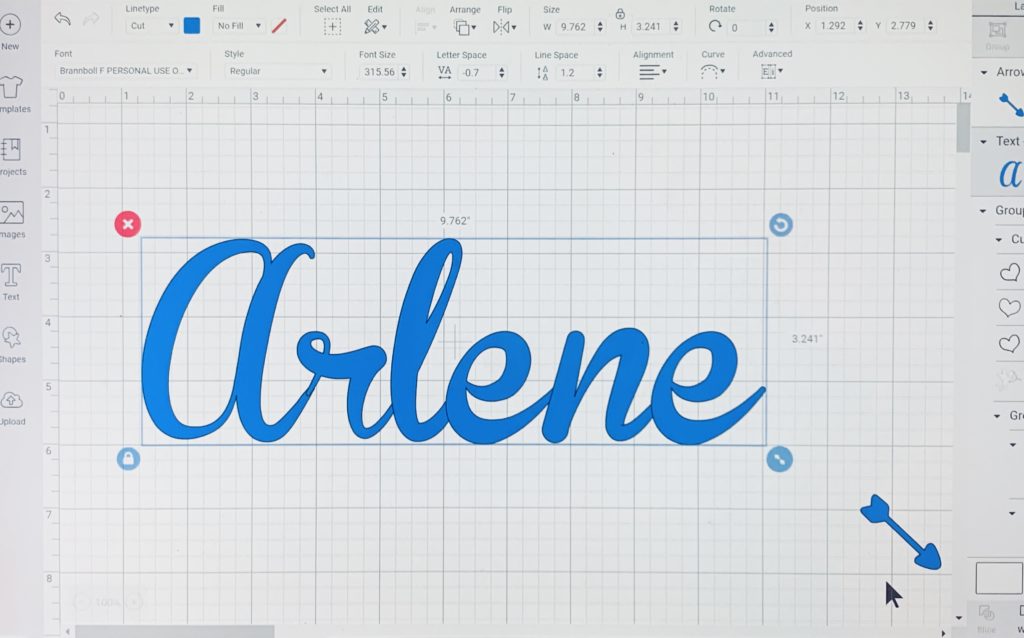
Step 5 – Notice how there are no seams and the letters are bonded together; your word will now cut as 1 piece and not as individual letters. You can see the difference in how the letters now flow into one another without the black lines in between.
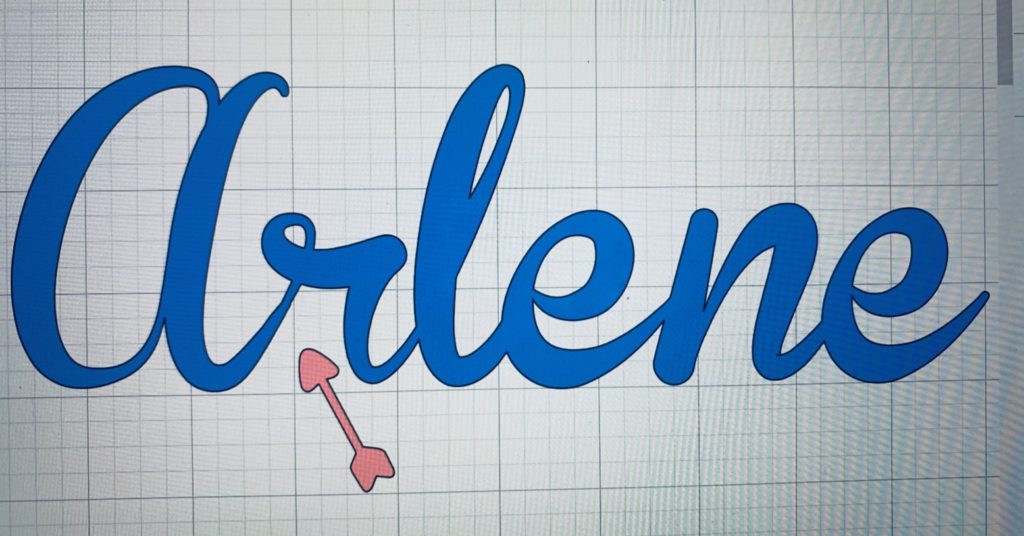
This is How Weld Works on Images
Welding images is so great because you can take several different shapes and create your own customized image.
Step 1 – Select the images or shapes you would like welded together
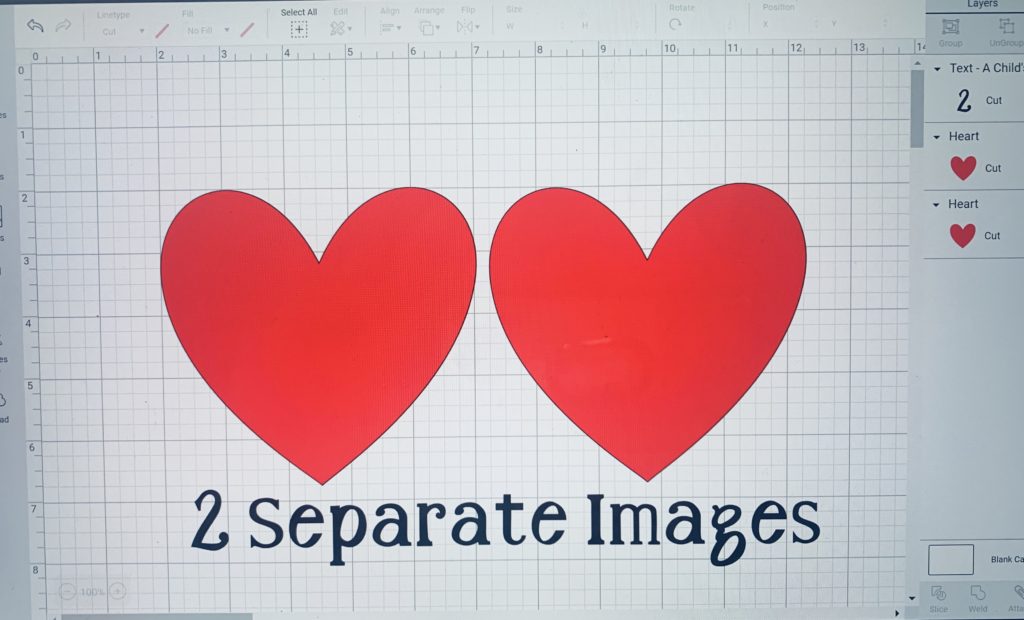
Step 2 – Place the images where you want them. The key is to make sure that your layers are touching, that is the only way to connect them
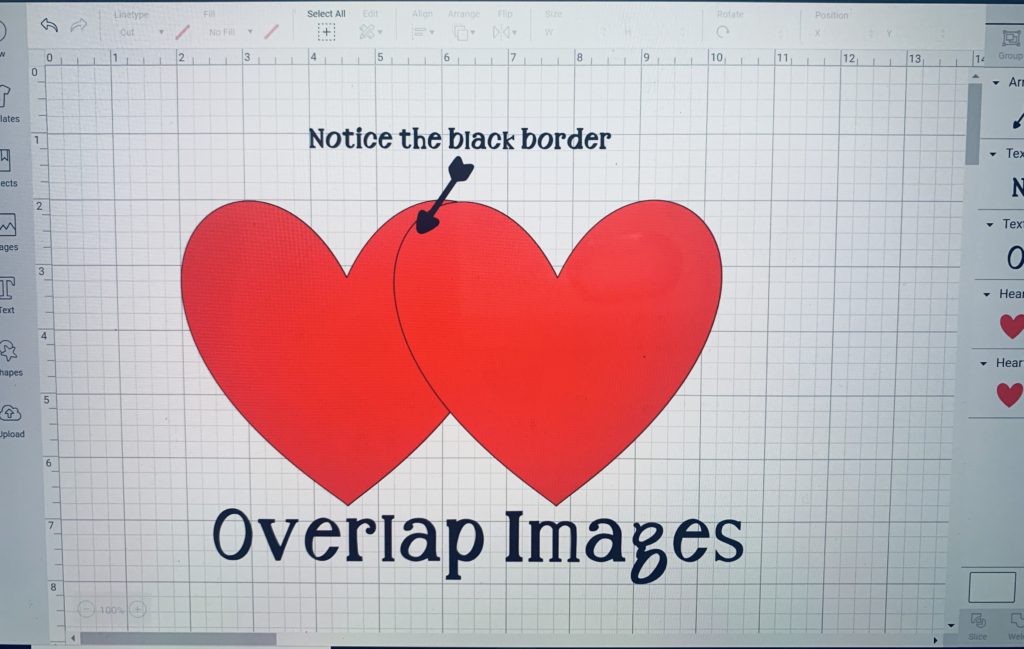
Step 3 – Select or highlight the shapes/images you want to weld; you will see the Weld feature on the bottom right on the layers panel.
Step 4 – You will see that you only have the outer cut path now, there are no additional seems on your image. This will now cut as 1 image.
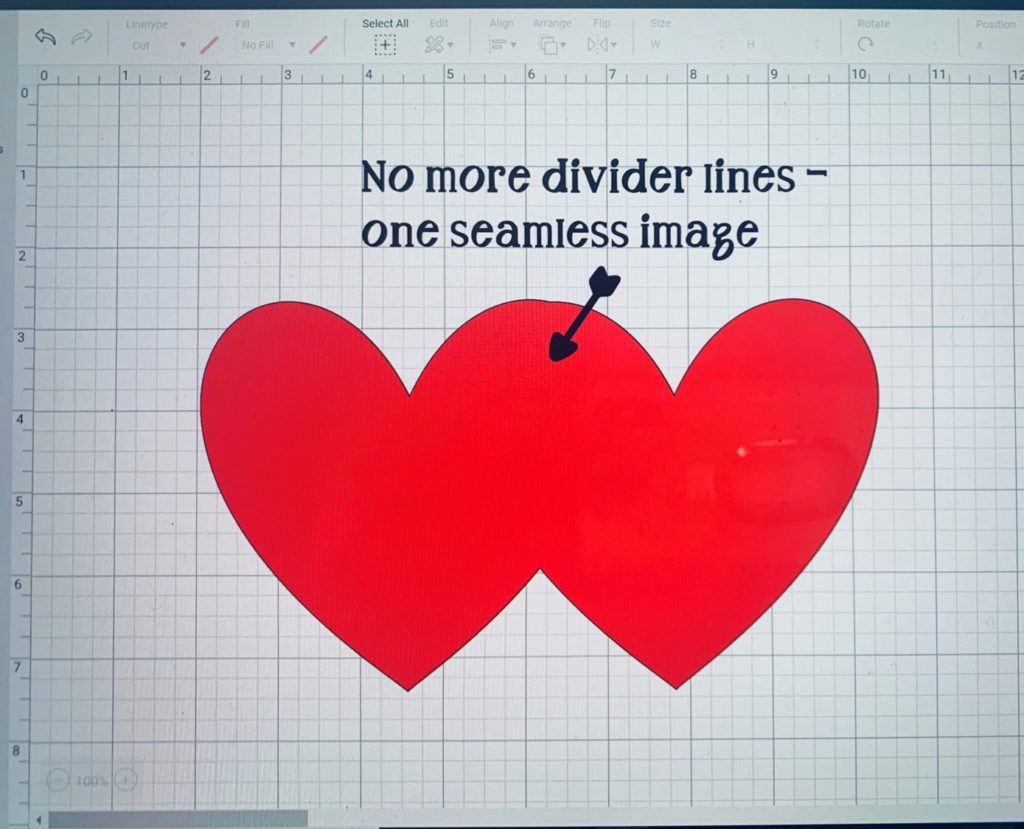
NOTE: On your computer, the Weld feature is in the Layers panel on the right. On iOS/Android app, Weld is available under Actions menu.
I love this tool, especially now that I actually know how to use it and how awesome it can make my projects. I hope you keep practicing and grow to love them too!
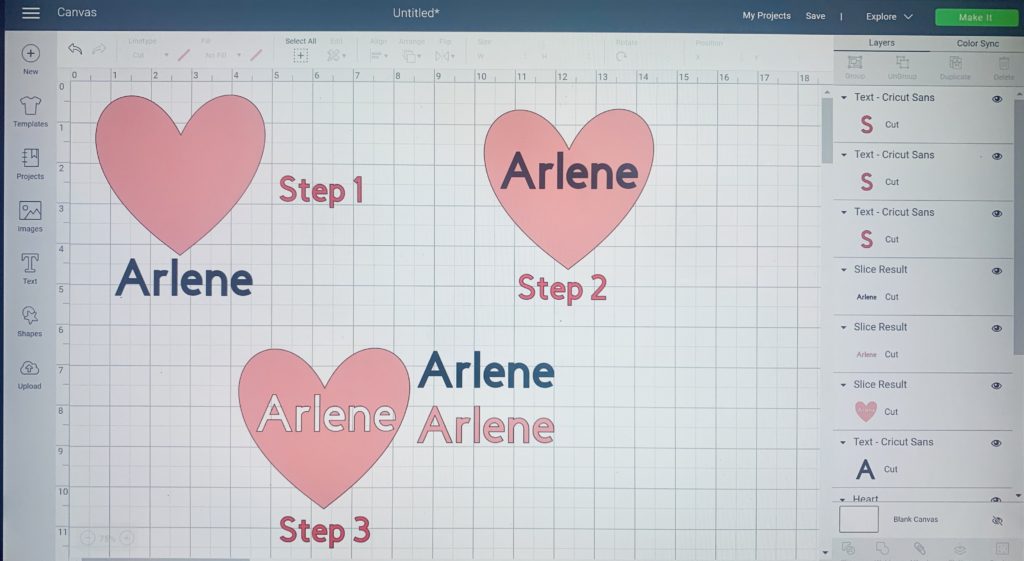
BONUS: Want to learn how I used the Slice feature on the heart/cupid image above, click below.
Make sure to check out other tutorial videos I’ve done for additional projects.
Remember, Love What You Do, Do What You Love. Feel free to contact me with any questions.
