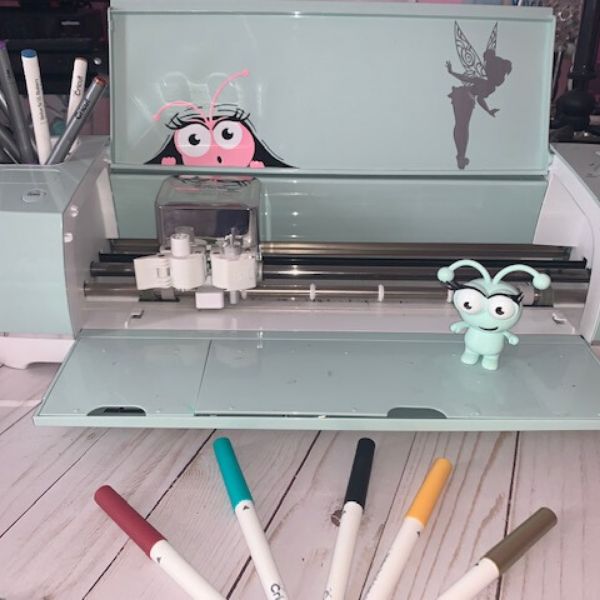
Don’t Be Afraid of Your Cricut, It’s Friendly! My husband gifted me my Air 2 in Christmas 2016 and the Maker, Christmas 2017. AND I have to say out of all the gifts he’s given me, this is by far my favorite. Why? Because it has given me the freedom to be creative, it has been my therapy when I’ve needed some time to myself and it has helped me bring joy to so many. I PROMISE YOU, YOU CAN DO THIS, and I will be right there with you every step of the way.
NOW, don’t be afraid and set your Cricut free so you can make some magic.
First things first – Other than your Cricut, you will need the following:
A computer with OS: Windows® 8 or later, a Mac OS: 10.13 or later or an iPad or iPhone with iOS 11 or later. These system requirements may change from time to time, so I encourage you to check here first.
- A power source
- Internet access on your device OR Offline Design Space is now available for computers and iOS devices only
NOTE: Design Space is not compatible with Chromebooks
What’s in the Box?
The included items will differ based on what machine you either bought or received. Some will come with less and some will come with more. However, they will all come with the following:P
1. Premium Fine-Point Blade + Housing
2. LightGrip Mat, 12″ x 12″ (30.5 cm x 30.5 cm)
3. Welcome Guide
4. USB cable
5. Power adapter
6. Free trial membership to Cricut Access™ (for new subscribers)
7. At least 25 free ready-to-make projects
8. Material for your first project
Where to Place Your Cricut
I suggest you find a great spot for your Cricut before you take it out of the box. Look for somewhere close to a power source and with enough space in the back that when the mat is moving in and out there is enough room for it to do so freely. You don’t need a big space; some people who work on their dining room tables, others purchase carts with drawers for storing tools and others have craft rooms.
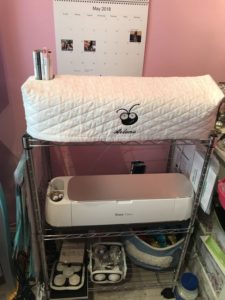
I started in a small area and then I converted my daughter’s old bedroom into my craft room/guest room and it works perfectly. There is this great wire shelf unit that I purchased on Amazon and it fits both my Air 2 and Maker with an extra shelf for paper storage.

Now for the Fun Part
Ok, so far so good; you see don’t be afraid of your Cricut, it’s friendly. Now, carefully remove your machine from the box and set it on the surface you selected. Hit the open button if you have an Explorer Machine or manually open the top and bottom lid if you have the Maker. Make sure to remove any of the wrappings, cardboard and other protective coverings inside.
1. Plug in the machine and power it on.
2. Connect the machine to your computer with the USB cord or pair it via Bluetooth.
3. Go to design.cricut.com/setup in your browser.
4. Follow the on-screen instructions to sign in or create your Cricut ID.
5. Download and install the Design Space plugin when prompted.
6. You will know the setup is complete when you are prompted to make your first project.
NOTE – if while setting up your Bluetooth it asks you for a code it’s 0000.
Video Tutorial
So now you know, don’t be afraid of your Cricut, it’s friendly. Here’s a great unboxing video for your new Cricut Maker.
Congratulations! You are now ready to make your first project. All of the materials needed are included with your machine, including paper. Follow the online instructions and voila you have your first Cricut creation. I hope you are no longer afraid of your Cricut and can see the endless possibilities.
Don’t forget that your purchase comes with a trial membership to access so I encourage you to explore, create but most importantly Have FUN!
Always Do What You Love, Love What You Do. Feel free to comment below and ask any questions.


