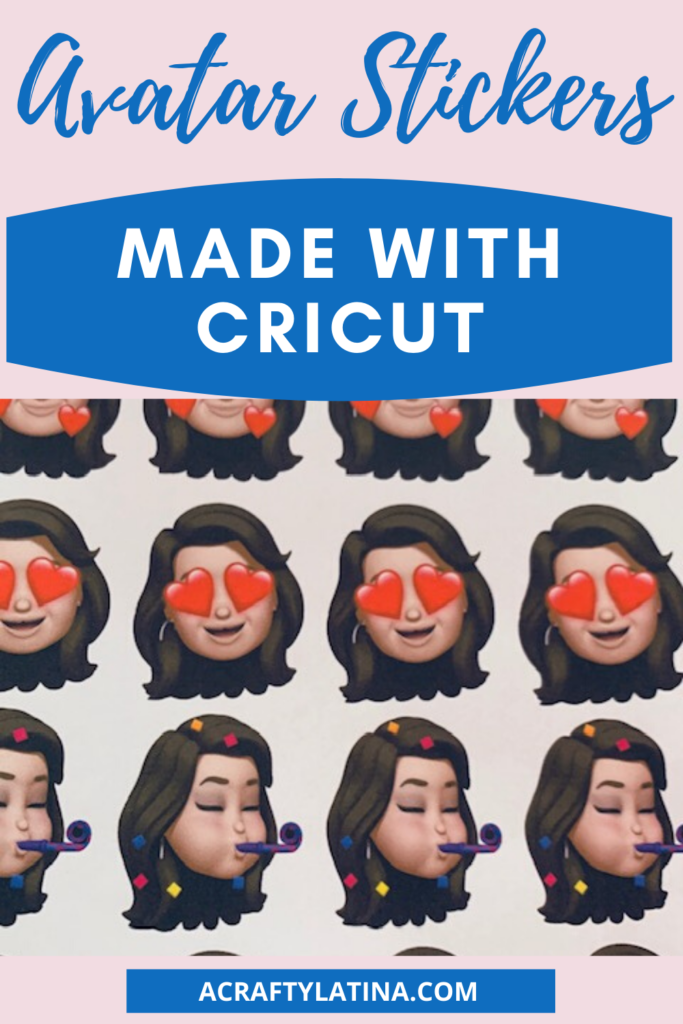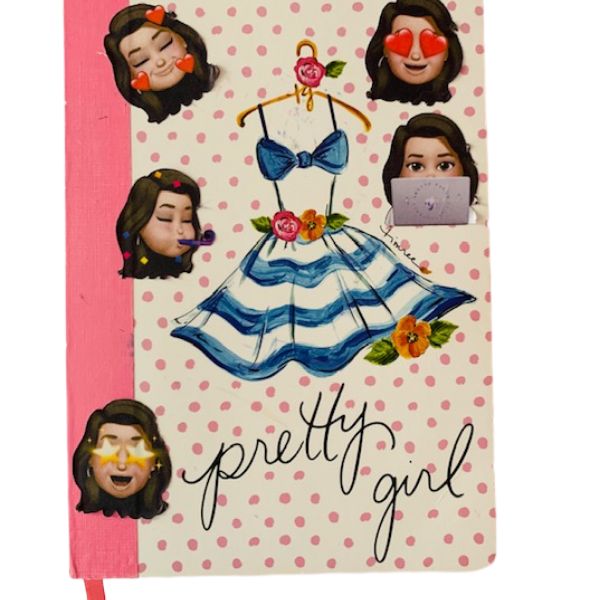
I’m so excited to share with you how to create custom stickers using your Cricut. I’ve been dying to make my little Avatar from my iPhone into a sticker ever since I saw her. I thought it was going to be a long drawn out process but it was so simple and I wanted to share it with you. Although I use my Avatar for this demonstration, you can apply the same process to any image you upload onto Design Space.
Make sure to view the video below to see all of the steps in action. In the video I import from my iPhone and also show you how to send to your computer and import from your PC. So let’s get started.
What You Will Learn
In this blog we will upload an image from our iPhone photos library to Design Space and clean it up so that it has a transparent background and cuts the image only. We will also upload an image from our iPhone into our PC and clean it up to use in Design Space. Finally we will create a full sheet of stickers using the Print Then Cut method.
View below for more information on the Print Then Cut process.
Supplies Needed
This post contains some affiliate links for your convenience; this means if you make a purchase after clicking a link I will earn a small commission but it won’t cost you a penny more it will just help me to continue to be able to provide you great tutorials and free projects. As an Amazon Associate I earn from qualifying purchases.
- Cricut Machine – https://shrsl.com/2ciky
- Printable Vinyl – https://amzn.to/3duNvGt OR Sticker Paper – https://amzn.to/2Nq94gQ
- Epson Inkjet Printer – https://amzn.to/3dyRpOM
- Cutting Mat – https://shrsl.com/2cilb
- Images to be used
- iPhone and/or PC
- Email address – to send to yourself for use with the PC
Select Your Images
I chose to do my Avatar stickers because they’re so stinkin cute! So my dilemma was that they were on my iPhone and not an image that is readily available, so I had to get creative.
Here’s what I did:
1. I sent a text message to myself with the Avatar I wanted.
2. Once I received the image I clicked on it and made it large to fill my iPhone screen
3. Then, I took a screenshot of the image. On the iPhone you squeeze the 2 keys on the side of the phone; one on the left side and one on the right.
4. That process automatically saves the image to my iPhone picture library.
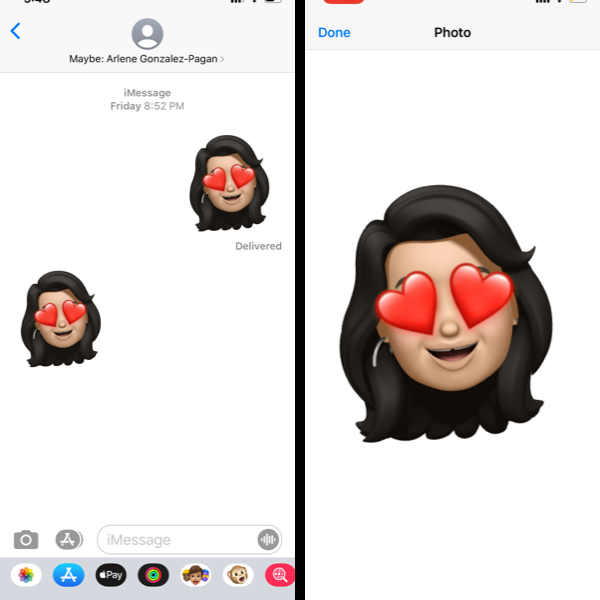
NOTE: Once the image was saved on my iPhone, I emailed it to myself as well so that I could import directly from my PC to Design Space. Make sure to watch the video for those steps. The importing and clean-up is the only difference.
How to Upload to Design Space from your iPhone
So now that I had the image in my iPhone Library I had to upload it into Design Space. So here we go:
- Open Design Space
- Click on upload at the bottom of your screen
- Click on Select from Photo Library
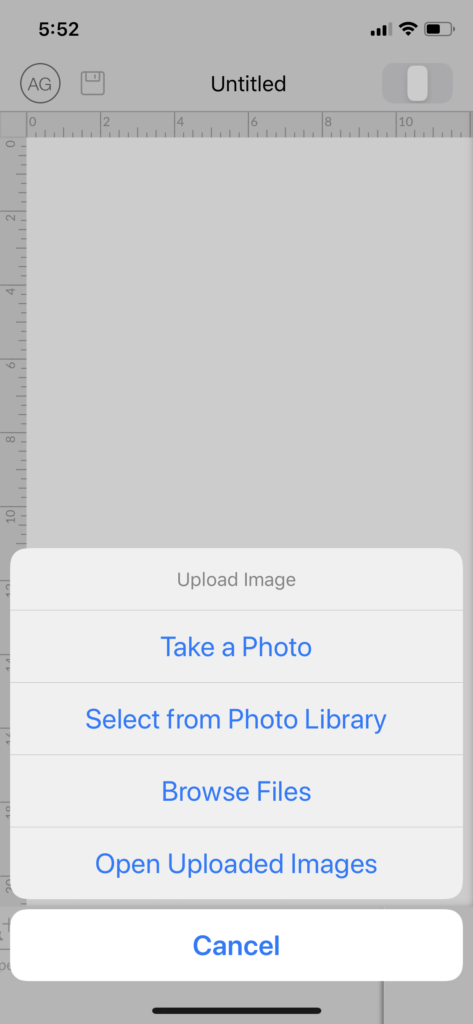
You will notice that when we took the screenshot it imported stuff on top and bottom that we don’t want. We need to clean up the image.
Clean up Image in Design Space
1. Click on crop at the bottom
2. Drag the top corner and bottom corner around the part you want to keep. Make sure to look at it carefully so you don’t cut anything off.
3. Click on Done on the bottom when you’re ready.
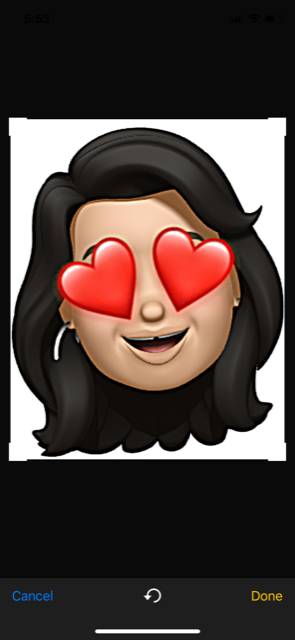
4. If you have a white background around your image and you want to make it transparent so that it cuts just the image. You will then have to select Remove on the bottom left.
5. Remove should now be highlighted in green; pick any of the white area you want to delete and click on it. If it doesn’t remove the entire background in 1 click, just keep clicking around the white (or whatever color your background is) until you see a grey checkerboard. That tells you that area is transparent.
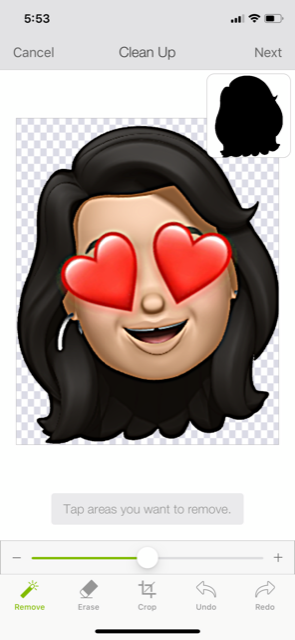
6. Once ready, click on Next at the top right corner.
Select How You Want to Import Your Image (from here on it’s the same for iPhone and PC)
On this screen you should now see Cut Image on the left and Print then Cut on the right side. At this point you have to decide if you want a silhouette of your image that you can cut in vinyl or do you want to create full color die cut stickers with designs. If you just want the silhouette go ahead and select Cut Image. If you want the full image as is, then click on Print Then Cut. Make sure you see a little green checkmark on the selection you want.
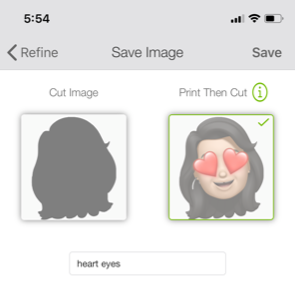
Once selected go ahead and click on Save. Your image is now part of your Design Library images and you can select and import into your Canvas.
I repeated the process with my 4 other Avatar images that I wanted to add to my sticker page.
Time to Make Stickers
Now that I have all 5 of my images imported and cleaned up in Design Space it is time to arrange my sticker sheet.
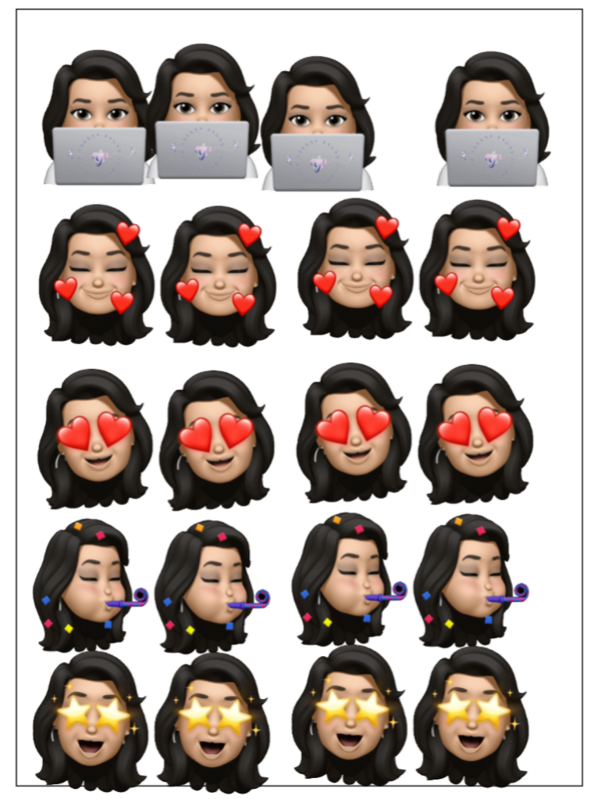
I created 1 row for each of my Avatars so that I had 4 of each with 5 rows.
Remember, since this is a print then cut project your maximum area should be 6.75” x 9.25”.
To make sure you don’t exceed that space I encourage you to create a rectangle shape in the back with those measurements and just place your images on it so that you know how many and what size will fit.
I decided to only change the width of my avatars so each one is sized at 1.387” W and I let the height adjust automatically. That ensures that your image isn’t looking distorted. With those measurements I duplicated each Avatar 3x and lined them up in rows of 4. I filled my page with 20 stickers, which I think is a great amount.
Aligning them up
So once I had 5 rows of my Avatars I needed to make sure they were aligned so that my rows were evenly spaced.
You can just highlight all 4 images in the row and click on Align, then select Top.
You can also tell Cricut to align your row horizontally so that it spaces the images evenly across the row. Select the images again, click on Align and then select distribute horizontally.
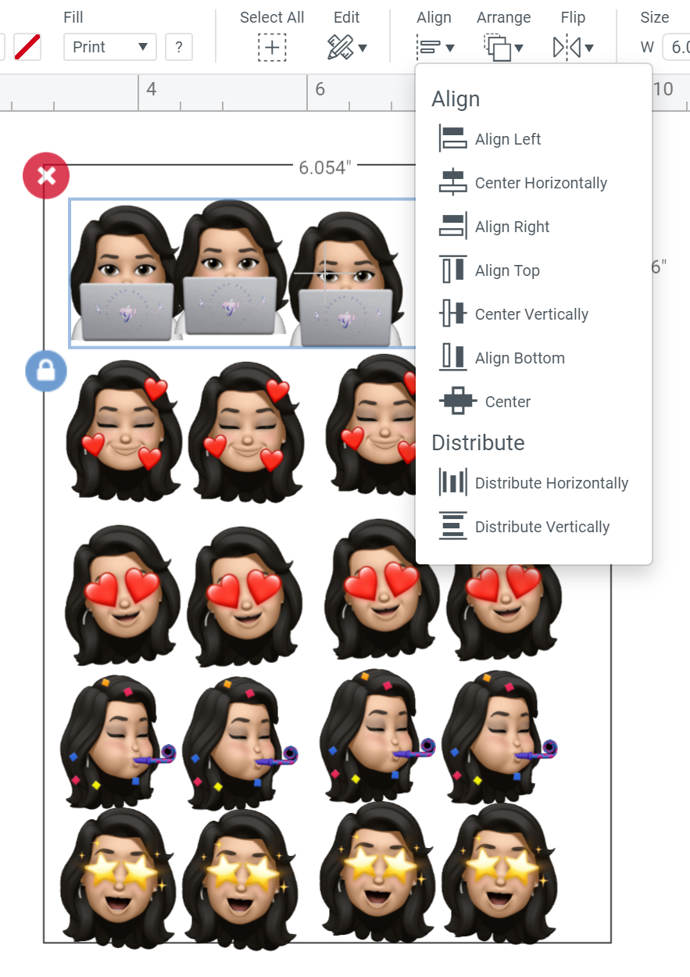
Once they are all aligned, my page looks pretty evenly distributed.
The most important thing is to make sure that your images all fit within the allotted background you created based on the print then cut sizes.
Get Ready to Make It
Once you like how everything looks, click on the background rectangle you created and in the layers panel click on the little eye image to hide that.
NOTE: You do not want to bring that with you when you click Make it because your Cricut will think it needs to cut around that rectangle instead of around your individual image.
Now that the rectangle is hidden, highlight all of your images and click on flatten. Immediately, you should see all of the images that were individual layers become only 1 layer and now read CUT | Print in your layers panel.
Final Steps
You are now ready to click on Make It. You will know automatically that it’s a print then cut project because your mat will have a black border around it. Don’t worry, that is the registration mark Cricut needs to know exactly how to cut your images.
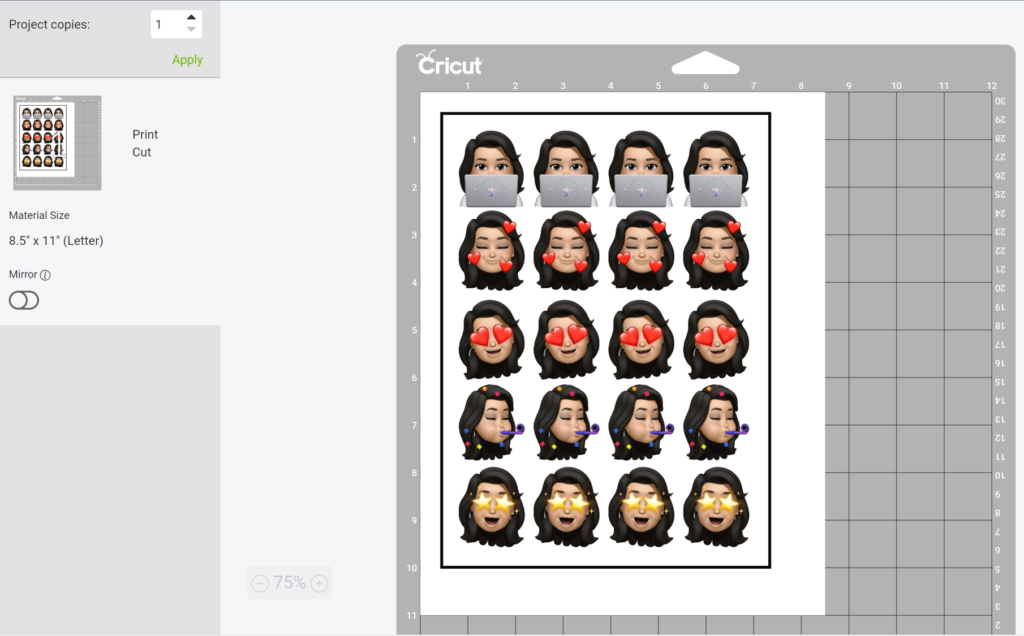
NOTE: If this is your first print then cut project, make sure to calibrate your printer with your Cricut machine. You will find that selection under settings.
Send to your inkjet printer and once it has printed, place on your mat. Make sure you have set the correct setting; if using sticker paper I usually use paper+ on my Air 2 and is using printable vinyl, I use vinyl+.
You should now have some fun stickers to use on your planner, notebooks or just for fun.
Don’t forget to watch the video below to see the steps listed above in action.
I hope this was helpful and that you create custom stickers using your Cricut. Please comment below if you have any questions or would like me to focus on a particular topic. This is what I love to do and am here to help you reach your creative goals.
Until next time, Do What You Love and Love What You Do!
