Cricut is an incredible service that you can use to create some of the most incredible artworks in your inventory. For a very long time, people have been wanting to know the method of how to use an SVG file on a Starbucks cup, and today we shall finally bring you the steps on how you do so. A Starbucks cup looks crazy good when it is customized and with our steps mentioned, you can easily do that now and with Cricut, your job is made a whole lot easier than before.
Before we begin, you will need a few items for this procedure. This of course includes your Starbucks reusable cup, a Cricut cutting machine, a permanent adhesive vinyl, transfer tape, and your regular stationary tools. To get a reusable cup just walk into your nearest Starbucks and you can get cups of different sizes quite easily. Buy the cup of that specific size which you want to work on. Make sure to get a few extra cups in case anything goes wrong on your first try. Since you’re using permanent adhesive vinyl then you’ll need to wash the cup by hand. You can’t put it into a dishwasher.
Now that we’ve discussed the items needed to make this cup, let us begin discussing the process of how to make this DIY Cricut Starbucks cup.
Instructions On Cricut Starbucks Cup SVG
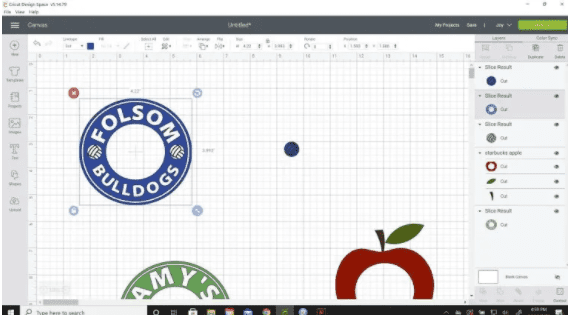
The first thing you’ll need to do is download the free Cricut Starbucks cut a template from the post and upload it into the Cricut Design Space. After that, insert a text box with what name or word you would want on the cup. For the fourth step, use a curve tool function the curve the word up or down if you would like to do so. Decrease the letter space to get the entire name to fit properly. Once the letters are how you want them to be, click on WELD.

After you click on WELD, select both the circle and the curved word and then click on SLICE. Remove the extra pieces which are there to be removed to prevent them from occupying extra space. Repeat the second word if you have more than one. Now, set material to vinyl and cut an image out of the permanent vinyl with a Cricut. Clean the Starbucks cold cup with rubbing alcohol and weed off the extra vinyl.
Once you’re done weeding off the vinyl, apply a straight piece of transfer tape so the top edges of the backing of the image and the image and the transfer tape end up in one straight line. Scrape down well and remove the backing. Center the circle over the Starbucks logo trying to have equidistant from the top and bottom. Then use the lines on the grid transfer tape to line up with the sides of the Starbucks logo as a guide.
Now that the adhesion part is done, press down the middle of the image first. Pull one side of the transfer tape taut and press down on the side. Repeat this process for the other side. Press it down well with your fingers or scraper and remove the transfer tape. Use the same method to apply a personalized name on the other side of the cup. You can now enjoy drinking your favorite beverage on your new personalized Starbucks cup!
This process is a bit lengthy but once you start with it, it’s going to be quite fun and you’re going to get done making your cup in no time. Just know that once it’s complete, your hard work is definitely going to pay off because it’s going to be one amazing creation all thanks to the Cricut Design Space!

